Last updated November 18, 2026






Free written scope consultation - allowances, timeline, and change-order rules on paper before a single trade is scheduled
General Contractor Maintenance Schedule: What to Do and When
Here’s the part of remodeling nobody puts in the glossy brochure. Most roofing and waterproofing manufacturers require a documented inspection within 12 months of installation for the warranty to stay valid, and almost no remodel contract reminds you to schedule it. We’ve seen a Pasadena homeowner lose coverage on a two-year-old tile roof over a missing inspection card. This guide lays out the actual post-remodel maintenance calendar by trade, the warranty documents you should have received at closeout, and how to build a project binder so the next maintenance call doesn’t turn into a scavenger hunt.
Styles & brands we work with
- Kitchen remodeling
- Bathroom remodeling
- Home additions & ADU
- Roofing
- Windows & doors
- Driveway & pavers
- Fence
Quick Answer
After a remodel, the trades that touched your home each have specific maintenance windows. In year one, plan on a roof and waterproofing inspection at 12 months, caulk and flashing checks every 6 to 12 months, HVAC filter changes quarterly, and a plumbing rough-in walkthrough before you close up any new walls. Miss the documented inspection windows and you can void the manufacturer’s product warranty before a problem ever surfaces.
Table of Contents
- Quick Answer
- Why a Finished Remodel Still Needs a Calendar
- Year One: The Trade-by-Trade Inspection Schedule
- The Paperwork Your GC Must Hand Over at Closeout
- Seasonal Caulk and Flashing Checks on a Pasadena Exterior
- Workmanship Warranty vs. Product Warranty: Who Do You Call?
- Build a Project Binder That Survives the Years
- Common Mistakes to Avoid
- When to Call a Professional
- Frequently Asked Questions
Why a Finished Remodel Still Needs a Calendar
A remodel is a set of hands and materials that all go to work the day the crew leaves. A new roof sheds water, but its flashing and caulk joints are the parts that fail first. A new HVAC system is a machine with filters and refrigerant. New plumbing hides behind walls where a slow weep turns into a stained ceiling. The builder hands over a finished product; the homeowner owns the schedule that keeps it finished.
We’ve watched this in Pasadena’s older housing stock for years. A bungalow off Lake Avenue with a freshly remodeled kitchen and a re-flashed roof ridge can look complete and still need a 12-month look at the penetrations where a chimney meets the deck. The Angeles foothills get a wet-dry cycle – hot, dry months followed by concentrated winter rain – that pushes caulk joints and flashing harder than a steady-drizzle climate would. The dry months shrivel the sealant; the first storm finds the gap.
This guide is written for homeowners who want the calendar, not a lecture. If you’re mid-project or planning one, our general contractor in Pasadena page explains how we scope the work and the closeout, and this page picks up where the crew leaves off. Both matter because the best maintenance schedule is built before the last nail goes in, not after a leak appears.
Year One: The Trade-by-Trade Inspection Schedule
Year one is the most important maintenance window after a remodel. It’s the period when product warranties are easiest to keep valid and when the manufacturing defects that show up early will show up. Here’s the schedule we recommend, trade by trade.
Roofing and Waterproofing
- Month 1: Walk the roof line and gutters visually; confirm no debris from the job remains, especially nails and shingle scrap.
- Month 6: Check caulk at all terminations, pipe boots, and the chimney counter-flashing. Southern California’s dry summer can open a bituminous or silicone joint.
- Month 12: Documented inspection of the full roof system and any waterproofed flat or deck area. This is the window many GAF, CertainTeed, and Owens Corning extended warranties require.
HVAC
- Every 90 days: Replace or clean filters. New ducts shed construction dust for the first season.
- Month 12: Have the system checked by a licensed HVAC tech: refrigerant charge, condensate drain, and blower.
Plumbing Rough-In
Plumbing behind a wall is the one trade you should verify before the wall closes, not after. If you can still see the rough-in, confirm every joint is dry, the shutoffs are accessible, and the p-traps are aligned. After the wall is up, do a slow-drip check at every new fixture in the first 30 days, then again at 60.
Electrical Panel
A new panel or subpanel doesn’t need routine maintenance – it needs a one-time verification that the installer labeled every breaker and that the inspection card was signed off. Look at the panel once a year for scorching, a humming breaker, or a warm cover plate, and stop using the circuit if you see any of those.
Exterior Sealants and Caulk
- Month 6: Re-inspect all caulk joints around windows, doors, and where siding meets trim.
- Month 12: Full caulk and flashing checklist. This is where most water intrusion in Pasadena begins.
The Paperwork Your GC Must Hand Over at Closeout
The maintenance schedule only works if the paperwork that backs it is in your hands. A by-the-book general contractor hands over a documented package at closeout, and if any document is missing, ask for it before you make the final payment. At Bradford Remodeling, the closeout is part of the job, not an afterthought.
Here’s the checklist. Cross off each item:
- Signed permit and final inspection card. Pasadena uses its own permitting portal and inspection process; make sure the card reflects a completed inspection for every trade.
- Manufacturer warranty registration confirmations. Every premium product has a warranty, and registration is how you activate it. On a typical kitchen we use KraftMaid or Wellborn cabinetry, Cambria or Caesarstone surfaces, and Kohler or Moen fixtures; each carries its own warranty terms.
- Product warranty booklets, in writing. Roofing warranties from GAF or CertainTeed, exterior warranty terms from James Hardie or Therma-Tru doors, and hardscape warranty terms from Belgard or Techo-Bloc all belong in the binder.
- Bradford’s own 365-Day Done Right Promise, in writing. One page, signed, stating exactly what it covers and for how long.
- Subcontractor name list. The plumber, the electrician, the roofer – name and license number for each, so a maintenance call reaches the right trade.
- Addendum log. Every change order, signed and dated.
If a contractor can’t produce items 1 through 4, ask why before you sign the final acceptance.
Seasonal Caulk and Flashing Checks on a Pasadena Exterior
Pasadena’s climate does its damage in two seasons. From roughly April through October, the dry heat pulls moisture out of wood trim and elastomeric caulk; joints crack and pull away from the substrate. Then the winter rain arrives and searches for every gap. A new exterior is only as good as the sealant joints the homeowner maintains.
Here’s what to inspect, and when:
- Before the first fall rain (September/October): Walk the full perimeter. Check caulk at window frames, door thresholds, corner trim, and where siding meets masonry. Press a fingertip along the joint; if the caulk flexes away from the wall or feels chalky, plan to reseal with a paintable exterior caulk.
- After the wet season (March/April): Look for hairline cracks in stucco, peeling paint near flashing, and dark streaks on the exterior wall that suggest water tracking.
- Roof flashing: The valley flashing, the counter-flashing at the chimney, and the boots around plumbing vents are where failures start. Check them after any wind event over 40 mph, which Pasadena sees several times a year off the foothills.
- Hardscape: New Belgard or Cambridge Pavers joints in a walkway can settle after the first wet season. Top-dress the joints with polymeric sand, and check the base at low points for ponding.
Set a recurring reminder for both windows. If you travel in summer, schedule the fall inspection before you leave. Most of the water damage we see after a remodel could have been caught with a 20-minute walk in September.
Workmanship Warranty vs. Product Warranty: Who Do You Call?
Two warranties sit on top of every remodel. Knowing which one covers which problem saves a lot of phone calls and misdirected frustration.
The workmanship warranty covers how the work was installed – the labor and the craft. If the tile comes loose from the substrate, that’s workmanship. If a cabinet door reveals a hinge installed off-square, that’s workmanship. At Bradford, the 365-Day Done Right Promise is our workmanship warranty: a full year, in writing, and if the work fails inside that window we come back and correct it at no charge.
The product warranty covers the material itself – the shingle, the cabinet box, the faucet cartridge, the door slab. If a Moen cartridge fails, the manufacturer replaces the part. If a GAF shingle lifts because of a manufacturing defect, that’s a product claim. Product warranties range from 1 year on some finishes to limited lifetime on roofing and cabinetry, and almost all have documentation or inspection deadlines attached.
The distinction matters in the moment the phone is in your hand:
- Was the failure at the joint, the seam, or the install? Call the contractor who installed it.
- Is the failure in the material or the manufacturing? Call the manufacturer’s warranty line and reference the registration.
- Is it both? Call the contractor first. A good contractor will make the call to the manufacturer on your behalf.
Both warranties live in the binder. Catalog the expiration dates on a single sheet so you don’t lose coverage by skipping a required inspection.
Build a Project Binder That Survives the Years
A project binder is the simplest tool a homeowner can assemble, and the one that saves the most headaches years later. When the maintenance call comes, everything the trade needs to know is in one place.
We recommend a 3-ring binder, tabbed in this order:
- Tab 1 – Permits and inspections. The permit itself, plus the signed final inspection cards for every trade.
- Tab 2 – Plans and drawings. The final signed drawings and any as-built markup.
- Tab 3 – Warranty documents. Signed 365-Day Done Right Promise, product warranty booklets, registration confirmations, the expiration sheet.
- Tab 4 – Subcontractor and service contacts. Name, license number, phone for every trade that touched the home.
- Tab 5 – Maintenance log. Every service call and inspection, dated, with the name of the tech who came out.
- Tab 6 – Paint, finish, and material specs. The exact brand and color of every paint, stain, and grout, plus a small sealed sample of each.
A binder protects you when you sell, when you refinance, and when you call a trade to correct a problem. In Pasadena, where older homes change hands with a lot of deferred work, a clean binder is one of the things a buyer’s inspector will want to see.
Common Mistakes to Avoid
- Skipping the 12-month roof inspection. Extended manufacturer warranties require it, and skipping it takes the coverage with it. Schedule the inspection before the warranty paperwork goes in the drawer.
- Treating new caulk as maintenance-free. Pasadena’s dry summers crack exterior caulk within one or two seasons. Inspect every six months and reseal before the rains.
- Filing the warranty docs in a drawer, not a binder. When a faucet leaks in year three, the binder saves the registration reference. A drawer loses it.
- Calling the manufacturer first for a workmanship failure. A loose tile is not a product claim. Call the contractor who installed it.
- Letting the final payment go out before the closeout paperwork is handed over. The inspection cards, permits, and signed 365-Day Done Right Promise should be in your hands first.
- Ignoring the plumbing rough-in until the wall closes. Check the joints and shutoffs before the drywall goes up; you’ll never have a better look at them.
- Not checking new hardscape joints after the first wet season. Pavers settle, polymeric sand washes out, and a small top-dress prevents a bigger base repair.
When to Call a Professional
Call a licensed professional when the item is on the roof, behind the wall, or inside the electrical panel. A missing shingle is a quick check; a lifting valley flashing, an active drip at a chimney, a warm cover plate on the electrical panel, or a slow weep at a plumbing joint are all work for a trained tech. Fiddling with flashing on a steep pitch, opening a panel, or tightening a gas line under a cooktop is how small problems become expensive ones and, in some cases, dangerous ones.
Bradford Remodeling Co Pasadena offers free estimates in Pasadena – call (888) 841-5410. Whether it’s a maintenance punch list, a warranty correction, or a second remodel, we’ll walk the scope, give you a written price before any work starts, and put the guarantee in writing. The phones are answered by a live person, 24/7.
Frequently Asked Questions
Most remodeling workmanship warranties run 12 months, and Bradford’s 365-Day Done Right Promise is a full year in writing. That year covers labor and installation, not wear and tear or material defects, so read the term sheet at closeout and know exactly what’s inside the window.
Yes, if you want to keep extended manufacturer warranties valid. Many roofing warranties from GAF, CertainTeed, and Owens Corning require a documented inspection within the first year, and skipping it can void coverage. Schedule it before the first fall rain after installation. Call (888) 841-5410 if you need a reference for a licensed roofer in the Pasadena area.
Twice a year in Pasadena: once before the fall rains (September or October) and once after the wet season (March or April). The dry summer opens joints, and the first storm finds them. A 20-minute walk with a caulk gun on hand is the cheapest maintenance you’ll ever do.
The workmanship warranty covers how the work was installed; the product warranty covers the material itself. A failed faucet cartridge is a product claim against Moen or Kohler; a faucet installed with a crooked supply line is a workmanship claim against the contractor. The two live side by side in your project binder.
At minimum: signed permits and inspection cards, manufacturer warranty registrations, product warranty booklets, the written workmanship guarantee, a signed addendum log, and a subcontractor contact list with license numbers. At Bradford, the full closeout package is part of the job, not an afterthought.
Start with the contractor who installed it. Even after the 365-Day Done Right Promise passes, a good contractor keeps a relationship with the manufacturer (KraftMaid and Wellborn among them) and can route a product claim quickly. If your installer is unreachable, call the manufacturer’s warranty line and reference the registration in your binder.
The Bottom Line
A finished remodel is a set of systems with a timeline, not a set-it-and-forget-it asset. Build the calendar in year one: roof and waterproofing inspection at 12 months, HVAC filter every 90 days, caulk and flashing twice a year, plumbing rough-in checked before the walls close. Keep every warranty registration and the signed workmanship guarantee in a single binder. Know which problem belongs to the contractor and which belongs to the manufacturer. Do that, and the remodel you paid for stays squared away instead of quietly failing behind a wall. If you’re planning a remodel, start with our kitchen remodeling in Pasadena or bathroom remodeling in Pasadena pages, or head back to the Bradford Remodeling Co Pasadena home page to see how we scope and close out a project. When it’s time to price your next project, call (888) 841-5410 for a free estimate – we’ll give you a written price before any work starts, back it with the 365-Day Done Right Promise, and hand over a documented closeout package so maintenance calls never become mysteries.
Written by the team at Bradford Remodeling Co Pasadena.
See the difference
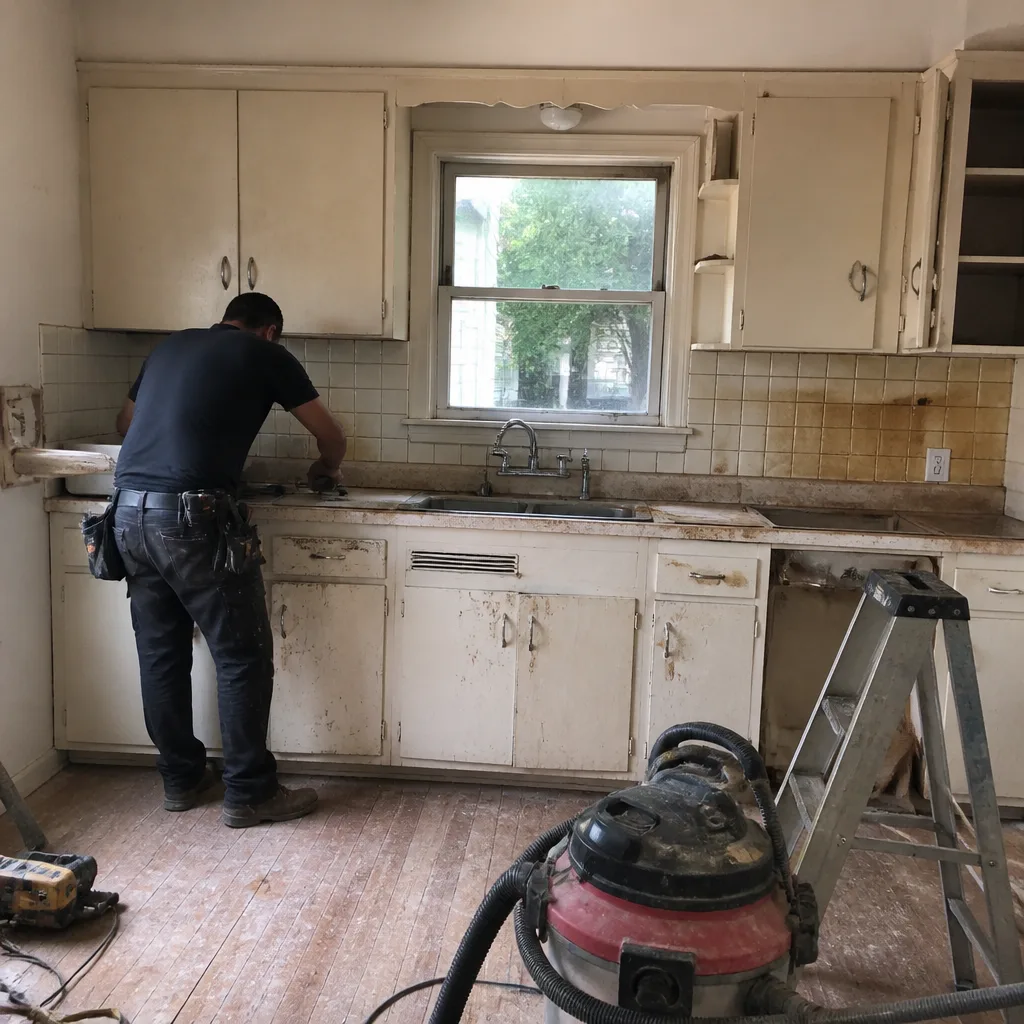 Before
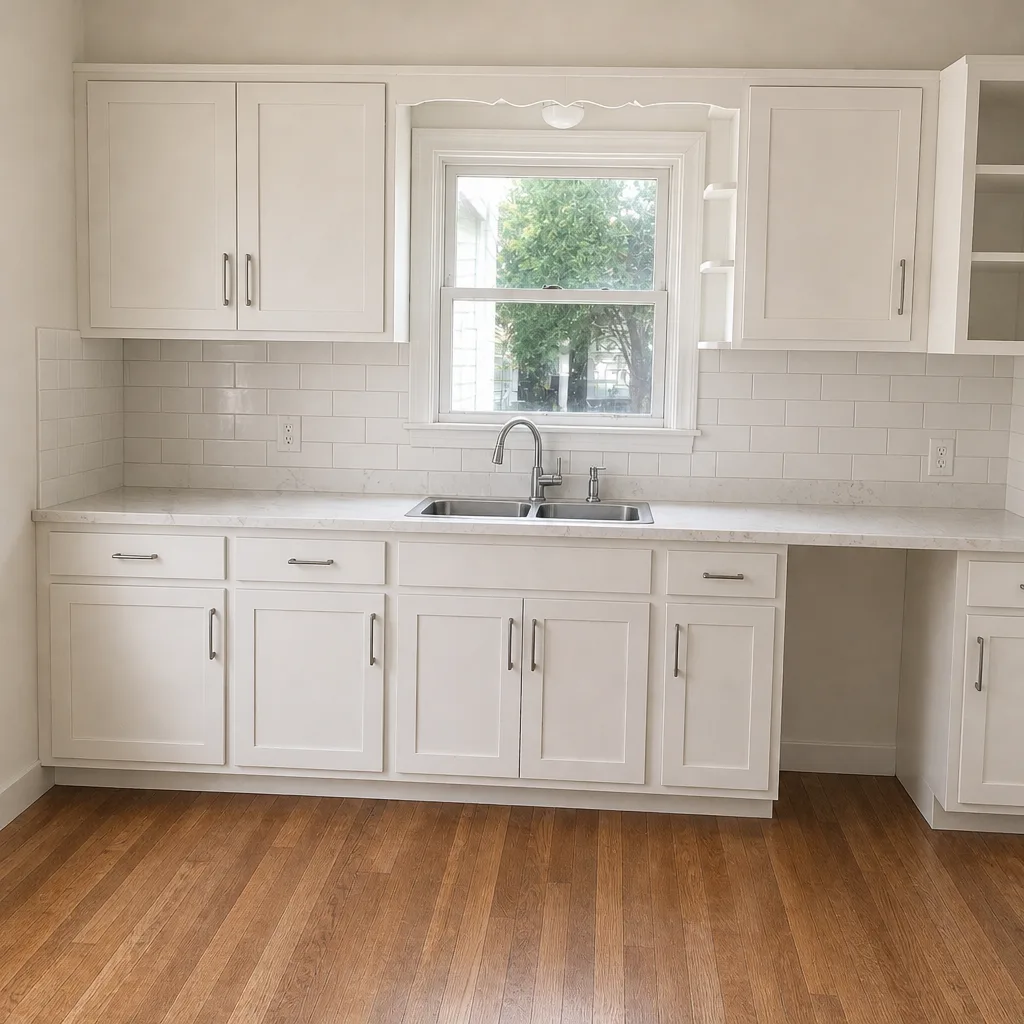 After
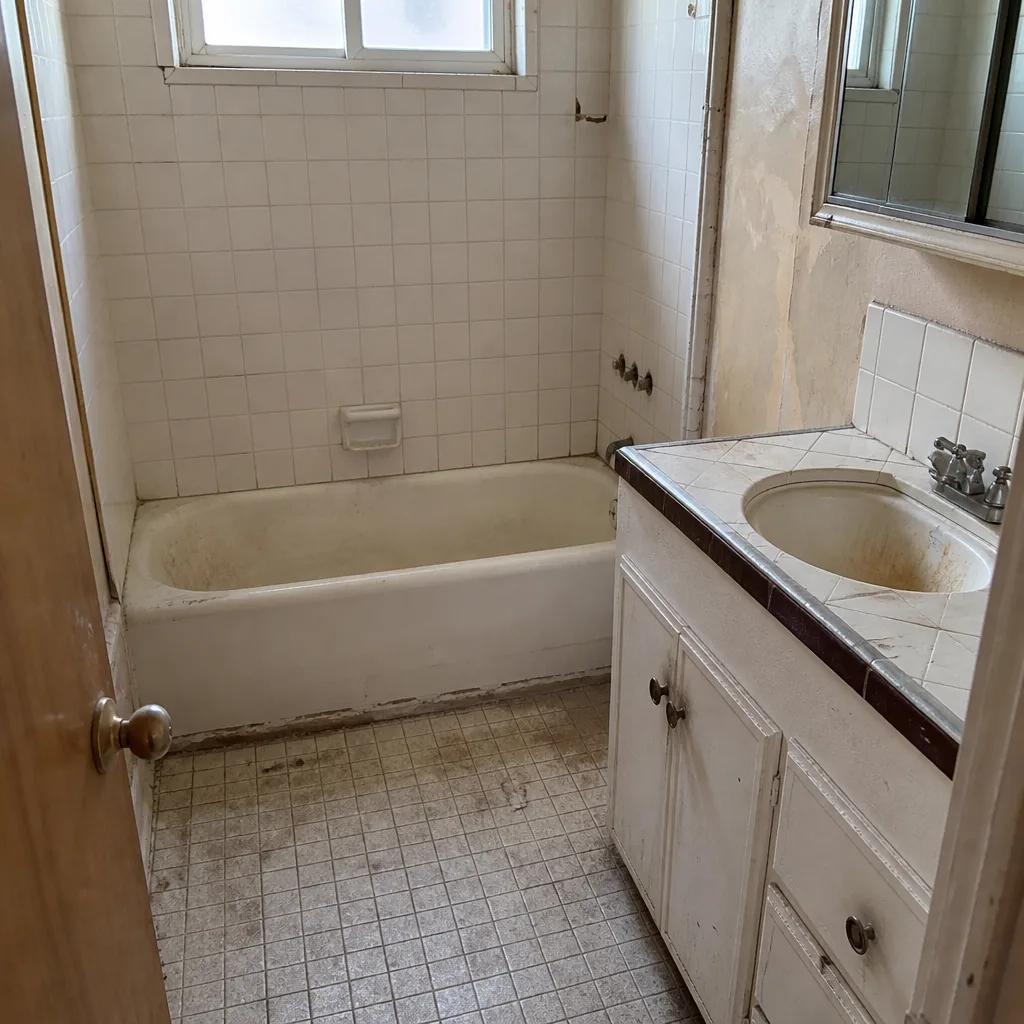 Before
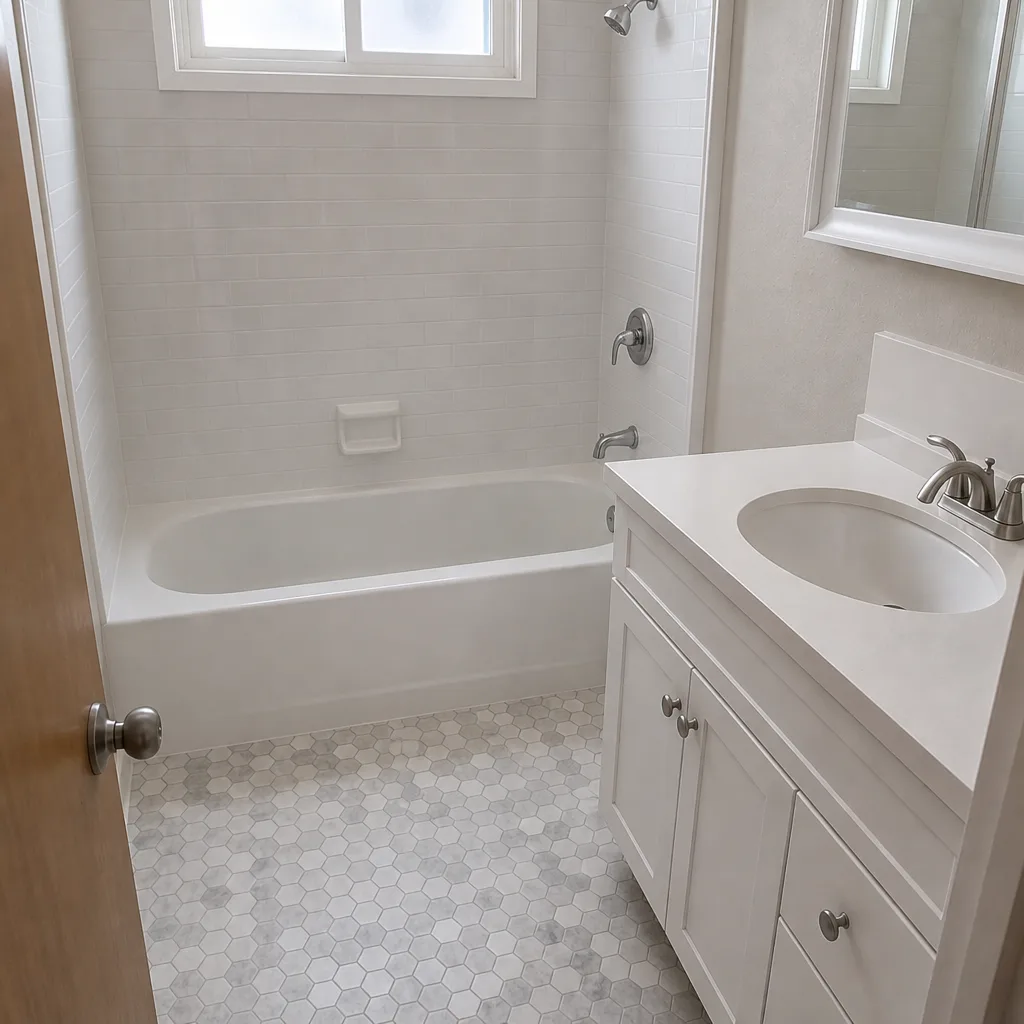 After
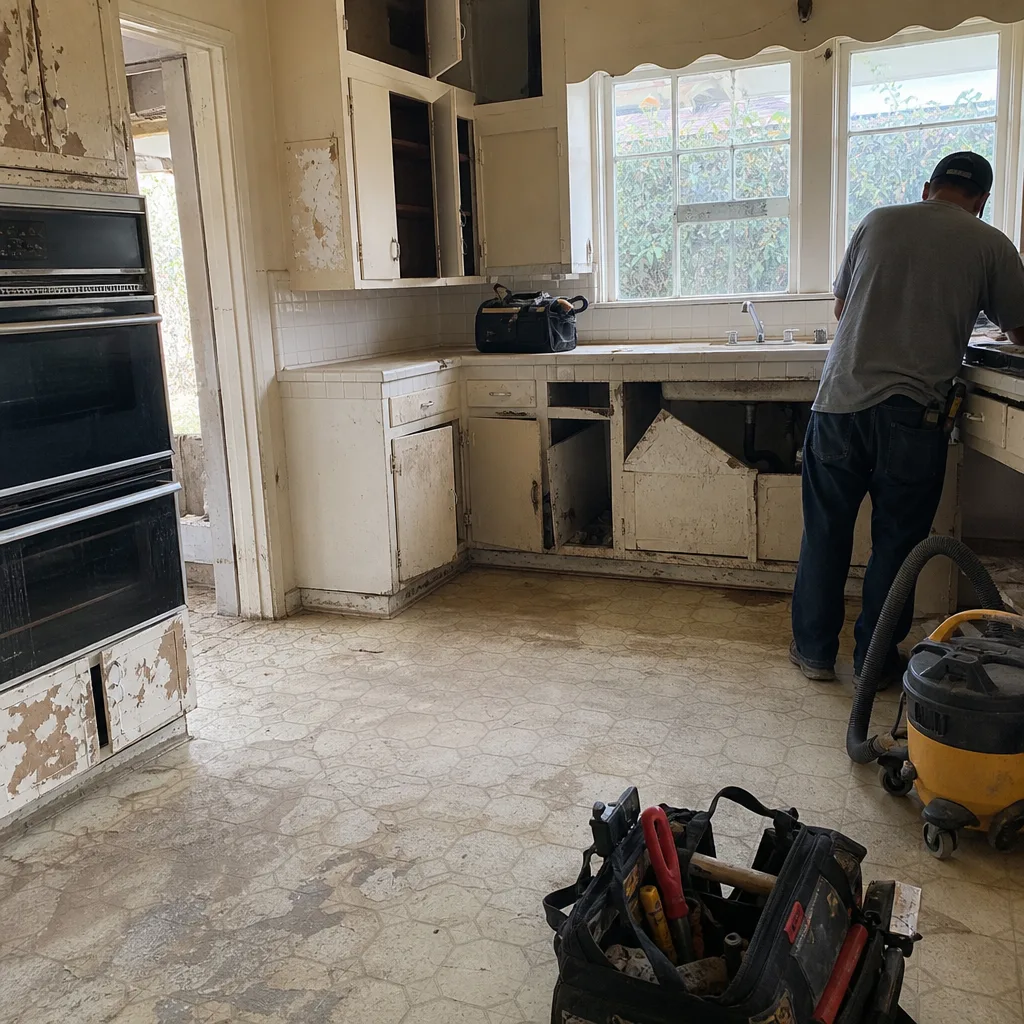 Before
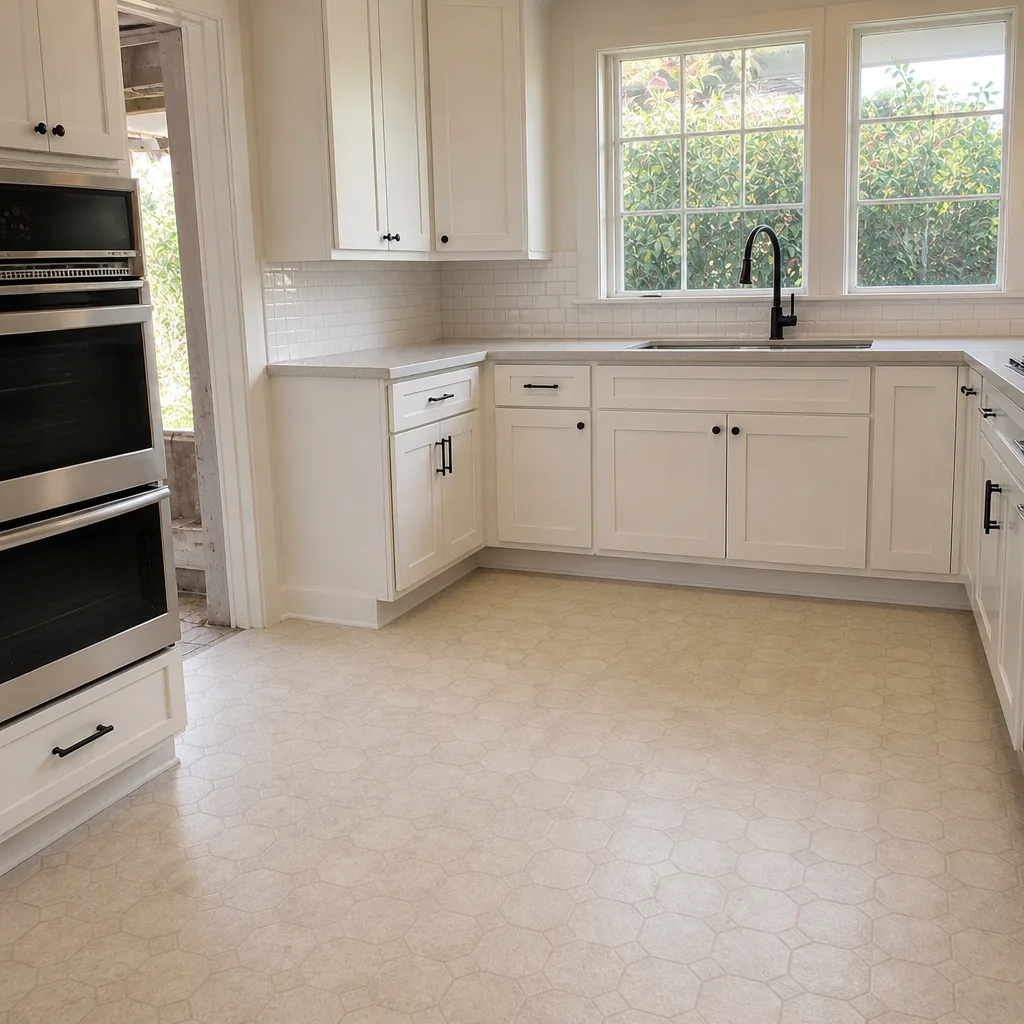 After