
Last updated November 18, 2026








Free written scope consultation - allowances, timeline, and change-order rules on paper before a single trade is scheduled
Kitchen Remodeling Maintenance Schedule: What to Do and When
The caulk joint between your new countertop and backsplash is not a permanent seal. It’s a sacrificial joint, designed to be cut out and re-done every two to three years. Skip it and water migrates behind the tile, into the cabinet box, and eventually into the substrate. The same is true of grout, cabinet hardware, range hood filters, and the supply lines under your sink – each has a manufacturer-defined service interval that most homeowners ignore until something fails and the warranty is gone. This guide gives you a room-specific calendar for a remodeled kitchen, written from what we see on jobs across Pasadena.
Quick Answer
A remodeled kitchen needs three tiers of maintenance: monthly (hood filter, disposal flush, hardware tightening), quarterly (caulk inspection, cabinet floor check, supply line review), and annual (grout sealing, hinge lubrication, appliance seal checks). The most expensive failures – water intrusion behind tile and cabinet floor rot – are prevented by the quarterly inspection, not by any product warranty. Log every task with a date; that log is what supports a workmanship claim or a manufacturer claim when something fails.
Styles & brands we work with
- Kitchen remodeling
- Bathroom remodeling
- Home additions & ADU
- Roofing
- Windows & doors
- Driveway & pavers
- Fence
Table of Contents
- Monthly Tasks: The 30-Minute Sweep
- Quarterly Tasks: Water, Seals, and Hardware
- Annual Tasks: Grout, Finish, and Ventilation
- How to Spot Water Intrusion Under the Sink
- Cabinet Finish Care by Material Type
- Garbage Disposal and Dishwasher Care (and What Voids a Warranty)
- How to Log and Date Maintenance for Warranty Support
- Common Mistakes to Avoid
Monthly Tasks: The 30-Minute Sweep
Once a month, set aside half an hour. This tier catches the small stuff before it becomes a repair. In our experience, the homeowners who keep a monthly routine rarely call us for anything beyond a worn gasket.
- Pull and rinse the range hood filter. Most mesh filters are dishwasher-safe; check the label. Grease-saturated filters cut airflow and put strain on the blower motor. A clogged filter is the single most common cause of a hood that sounds loud but doesn’t vent.
- Flush the disposal. Run cold water, drop in a handful of ice and a slice of citrus, run it for 20 seconds. Cold water keeps fats solid so they flush rather than coat the grinding chamber.
- Wipe the cabinet fronts with a damp cloth. No abrasive pads, no solvent sprays. A drop of mild dish soap in warm water is enough. Dry immediately, especially on painted MDF.
- Check hardware. Run a screwdriver over door hinges and drawer pulls. Cabinet doors that sag under their own weight usually need a quarter-turn on the hinge plate screws, not a replacement.
- Look at the dishwasher door gasket. Wipe the seal and check for food debris or a tear. A two-dollar gasket that fails lets water pool on the cabinet floor.
Pasadena’s dry summer air and the seasonal swing into fall both work on cabinet doors; expansion and contraction is why hardware loosens here faster than in coastal climates. Tighten quarterly if you notice it monthly.
Quarterly Tasks: Water, Seals, and Hardware
The quarterly sweep is where the real money is saved. This is the tier that prevents the failures we get called to fix: soft cabinet floors, failed caulk joints, seized drawer slides.
- Inspect every caulk joint. That means the countertop-to-backsplash joint, the sink-to-counter joint, and the joint where the backsplash meets the wall. Look for cracking, peeling, or dark discoloration. Press a fingernail into the bead – if it’s hard or lifting, it’s time to re-caulk. Plan on a full re-caulk every two to three years.
- Open every cabinet and look at the floor. Specifically under the sink. Look for staining, warping, a musty smell, or a soft spot when you press. See the next section for the full inspection method.
- Check supply connections. Look at the braided supply lines under the sink and at the dishwasher connection. Look for corrosion at the fittings, bulging, or moisture. A supply line has a service life; it does not last forever.
- Exercise the drawer slides. Pull each drawer fully out and push it back. Grinding, catching, or a drawer that no longer self-closes means the slide needs cleaning or the mounting screws need tightening. Most slides are rated for a specific load – overloaded utensil drawers are the usual culprit.
- Check the dishwasher drain hose. Look for kinks, and confirm the high loop is still in place. A hose that sags holds standing water and smells.
Pasadena homes on a raised foundation move with the seasons, and a caulk joint that was sound in July can open by the first cold snap. That’s why the quarterly rhythm matters more here than a once-a-year look.
Annual Tasks: Grout, Finish, and Ventilation
Once a year, go deeper. This is the tier most homeowners skip entirely, and it’s where a manufacturer warranty claim either succeeds or fails.
- Seal the grout. Test first: drip water on the grout line and see if it beads or absorbs. If it absorbs, it’s due. Penetrating sealer, not a topical film. Reapply per the sealer manufacturer’s directions; most need it annually in a kitchen.
- Clean the hood duct path. Beyond the filter, check the exterior vent flap for grease buildup and make sure it opens freely. A stuck flap turns a vented hood into a recirculating one.
- Lubricate hinges and slides. A dry silicone or manufacturer-approved lubricant on metal slides and hinges, sparingly. Grease-based products attract dust and gum up over time.
- Check appliance seals and door gaskets. The refrigerator door gasket and the oven door seal both degrade. Test the fridge gasket with the dollar-bill trick: close the door on a bill and pull; if it slides out easily, the seal is failing.
- Inspect the disposal and dishwasher mounts. Confirm the disposal is firmly attached to the sink flange; a loose mount is the source of most “the disposal fell off” calls.
- Look behind and under the fridge and range. Dust on condenser coils drives up energy use; grease behind the range is a fire load.
Annual cooling and heating cycles in Pasadena are mild, but the dry air still pulls moisture out of wood components and grout. Seal and lubricate in the fall, before the driest stretch, and the schedule lines up with the seasons.
How to Spot Water Intrusion Under the Sink
The cabinet floor is the first place a slow leak shows itself, and it’s the only place you’ll catch it before the substrate is compromised. Do this inspection every quarter – ten minutes, a flashlight, and a dry paper towel.
- Empty the cabinet. All of it. You cannot inspect a floor you can’t see.
- Run your hand over the entire cabinet floor. Feel for soft spots, swelling, or a difference in temperature. Press near the front edge and around the plumbing penetrations.
- Look for staining and warping. Dark rings, a cupped edge, or a floor that has lifted from the cabinet side are signs water has been sitting.
- Smell the space. A musty or sour smell is a leak you can’t see yet. Don’t dismiss it.
- Dry-test the plumbing. Wrap a dry paper towel around each supply connection and around the drain slip nuts. Run the water for a minute. Check the towel – any dampness means a fitting needs attention.
- Check under the dishwasher and the ice maker line if you have one. The ice maker supply is a common hidden leak.
A stained cabinet floor is not a cosmetic issue. Once water reaches the particleboard or the plywood substrate, it swells, and the repair moves from a five-dollar fitting to a cabinet panel replacement. Catch it at the paper-towel stage.
Cabinet Finish Care by Material Type
Not all cabinet finishes tolerate the same cleaning. What’s safe on painted MDF can cloud a thermofoil door, and what’s fine on a wood veneer can lift the edge banding. Match the product to the finish.
- Thermofoil: A vinyl film over MDF. Wipe with a damp cloth and mild soap only. Never use abrasive cleaners, and never let water sit on a seam or edge – thermofoil’s weakness is a lifted edge, and once it lifts, moisture gets behind the film and it peels. Avoid high heat near the range; a thermofoil door above a cooktop can delaminate.
- Painted MDF: The most humidity-sensitive of the three. Mild soap and water, dried immediately. Don’t use solvent-based cleaners; they soften the finish. Keep indoor humidity moderate – a bathroom exhaust fan and reasonable indoor humidity go a long way. Any shrinkage crack at a joint is a paint-and-caulk touch-up, not a replacement.
- Wood veneer: The most forgiving. Wipe with a slightly damp cloth, dry in the direction of the grain, and use a paste wax or the manufacturer’s recommended polish once or twice a year. Keep it out of direct sun; veneer fades unevenly.
Whatever the finish, the rule is the same: no dripping cloths, no standing water at the seams, and no abrasive pads. Hardware and finish brands are documented for a reason – if a finish fails, the manufacturer’s care instructions are what a claim is measured against.
Garbage Disposal and Dishwasher Care (and What Voids a Warranty)
Appliance warranties are conditional documents. The manufacturer agrees to replace a failed part, but only if you used the appliance as designed. Maintenance is how you keep the warranty standing.
For the disposal: run cold water before, during, and after use. Never put grease, coffee grounds, fibrous vegetables, or large bones down it. Clean it monthly with ice and citrus, and once a year check the mounting flange. Most disposal warranty voiders are simple: running it without water, overloading it with fibrous material, or ignoring a leak that corrodes the housing.
For the dishwasher: clean the filter monthly, wipe the door gasket, run a hot cycle with a dishwasher cleaner every few months, and keep the drain hose properly looped. What voids a dishwasher warranty: failing to clean the filter (many manuals state it), a kinked or improperly installed drain hose, and water damage from a failed supply line that wasn’t inspected.
The rule of thumb: if the appliance manual tells you to do something at an interval, do it at that interval and write it down. Manufacturers deny claims for documented neglect, and a dated log is your evidence that you didn’t neglect it.
How to Log and Date Maintenance for Warranty Support
A warranty claim is worth exactly as much as the paper behind it. Whether you’re claiming against a product manufacturer or against workmanship, a dated log is what turns “it just failed” into a claim that gets honored.
- Keep one log for the whole kitchen. A notebook, a shared note, or a spreadsheet – the format doesn’t matter, the dates do. One line per task: date, task, what you found.
- Photograph the findings. Snap the caulk joint, the cabinet floor, the supply lines, the hood filter. Date-stamped photos are the strongest evidence of condition over time.
- Record model and serial numbers. Tape the appliance manuals and the model/serial numbers into the log. A warranty claim starts with identifying the unit.
- Write down who did the work. If a professional did a repair or inspection, note the date and the scope. That’s the record that supports a workmanship claim or shows proper maintenance.
- Keep receipts for materials. Caulk, sealer, filters, gaskets. If a product fails, the receipt plus the date proves it was installed properly and still failed.
For our clients, that log sits alongside the written scope and the 365-Day Done Right Promise. If something we installed fails within the guarantee period, we come back and correct it at no charge – and a dated log makes that process faster for everyone. The maintenance log and the written guarantee work together.
Common Mistakes to Avoid
- Assuming caulk is forever. It isn’t. The countertop-to-backsplash joint is sacrificial and needs re-doing every two to three years. Skipping it is how water gets behind tile – and tile replacement is a remodel, not a repair.
- Cleaning cabinets with a dripping cloth. Water at the seams is the fastest way to lift thermofoil and swell painted MDF. Wipe damp, then dry.
- Never opening the under-sink cabinet. The cabinet floor is where a slow leak shows first. If you haven’t looked in six months, you don’t know the condition of the plumbing.
- Ignoring the range hood filter for a year. A grease-loaded filter strains the blower and cuts ventilation. It’s the cheapest maintenance in the room and the most skipped.
- Overloading drawers and then blaming the slides. Drawer slides are rated for a load. A drawer packed with cast iron breaks a slide that was working fine.
- Running the disposal without water. A dry grind overheats the motor and shortens its life. Cold water is the cheapest insurance in the kitchen.
- Never logging anything. A warranty claim with no dated record is a hard fight. Write down the date and the task.
See the difference
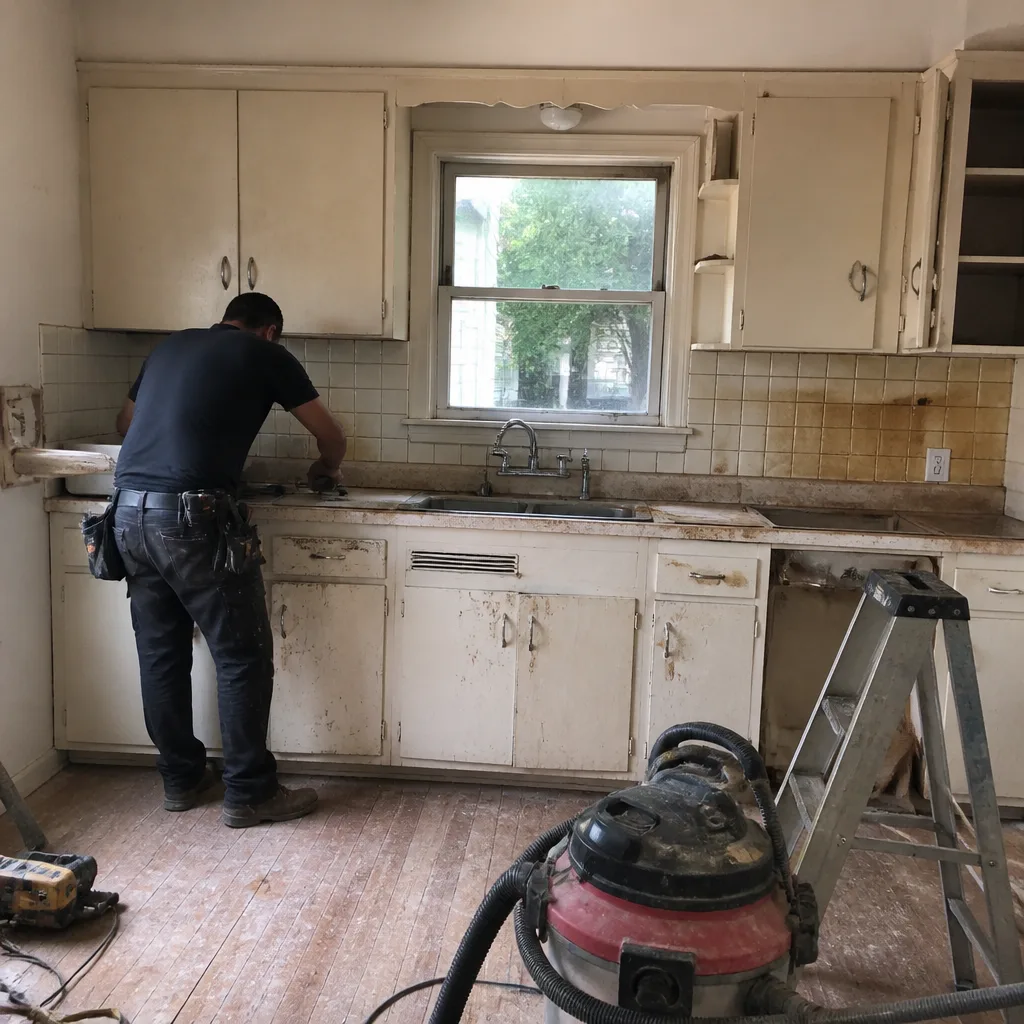 Before
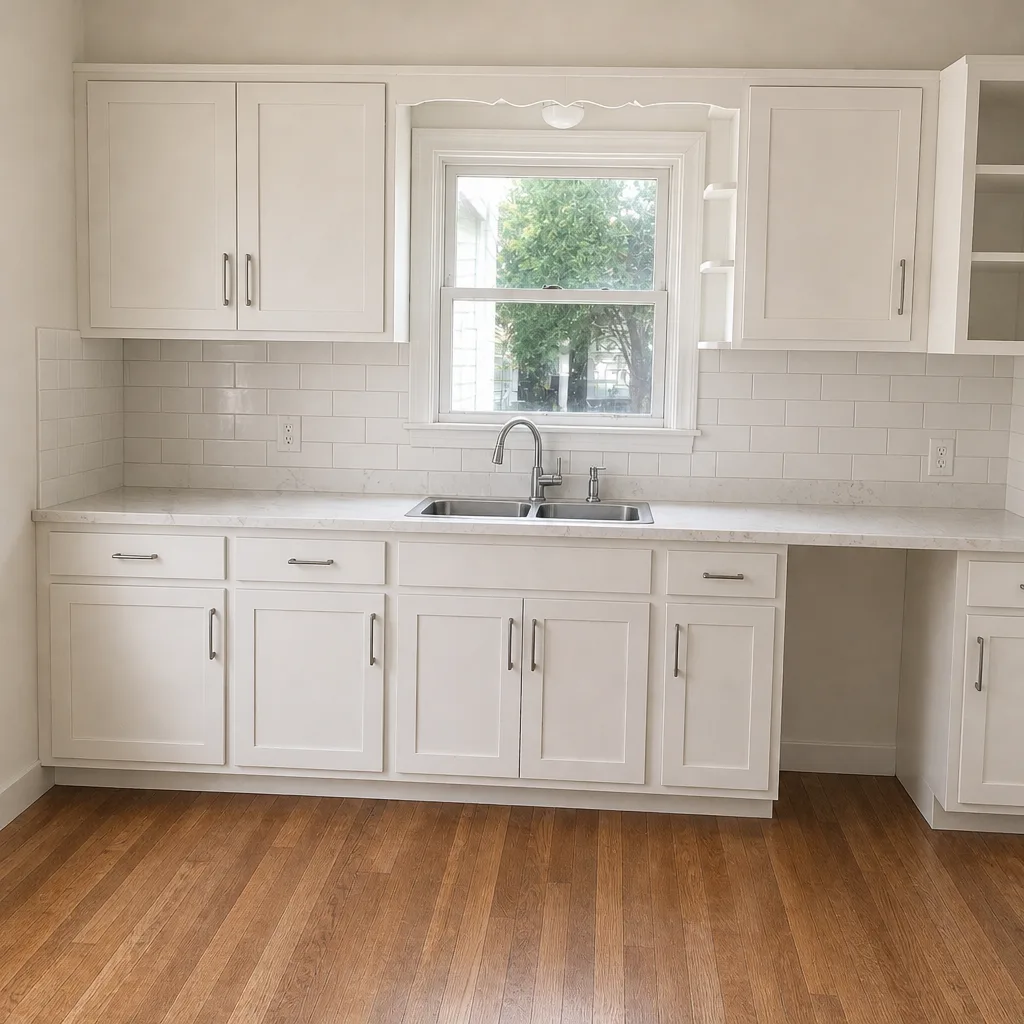 After
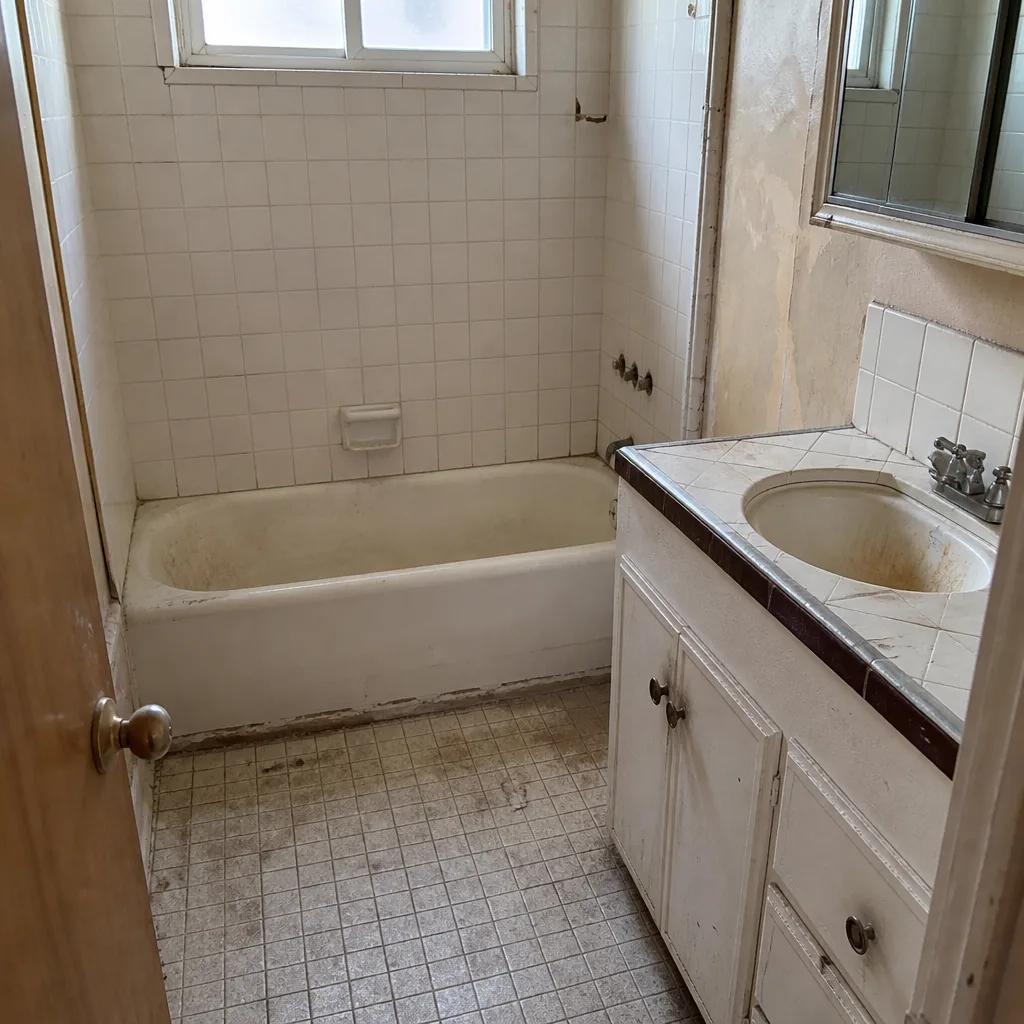 Before
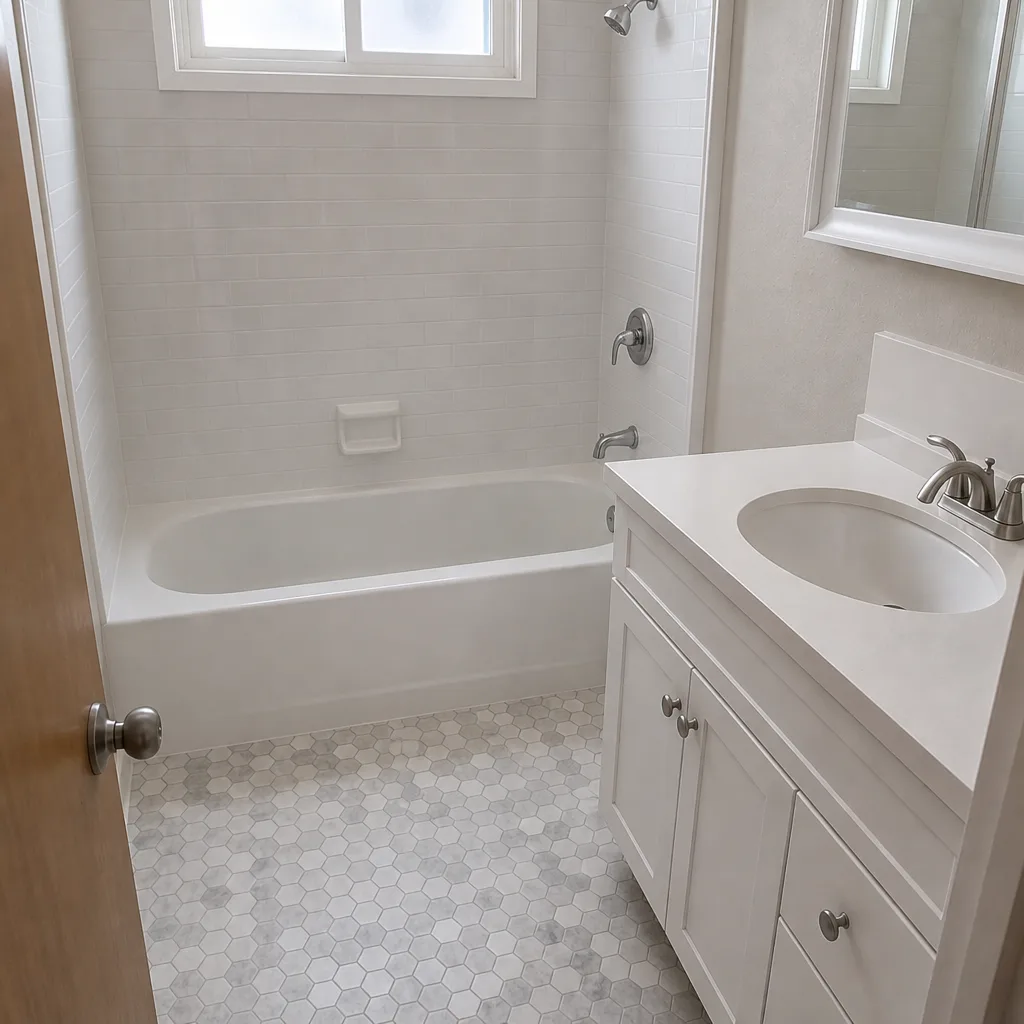 After
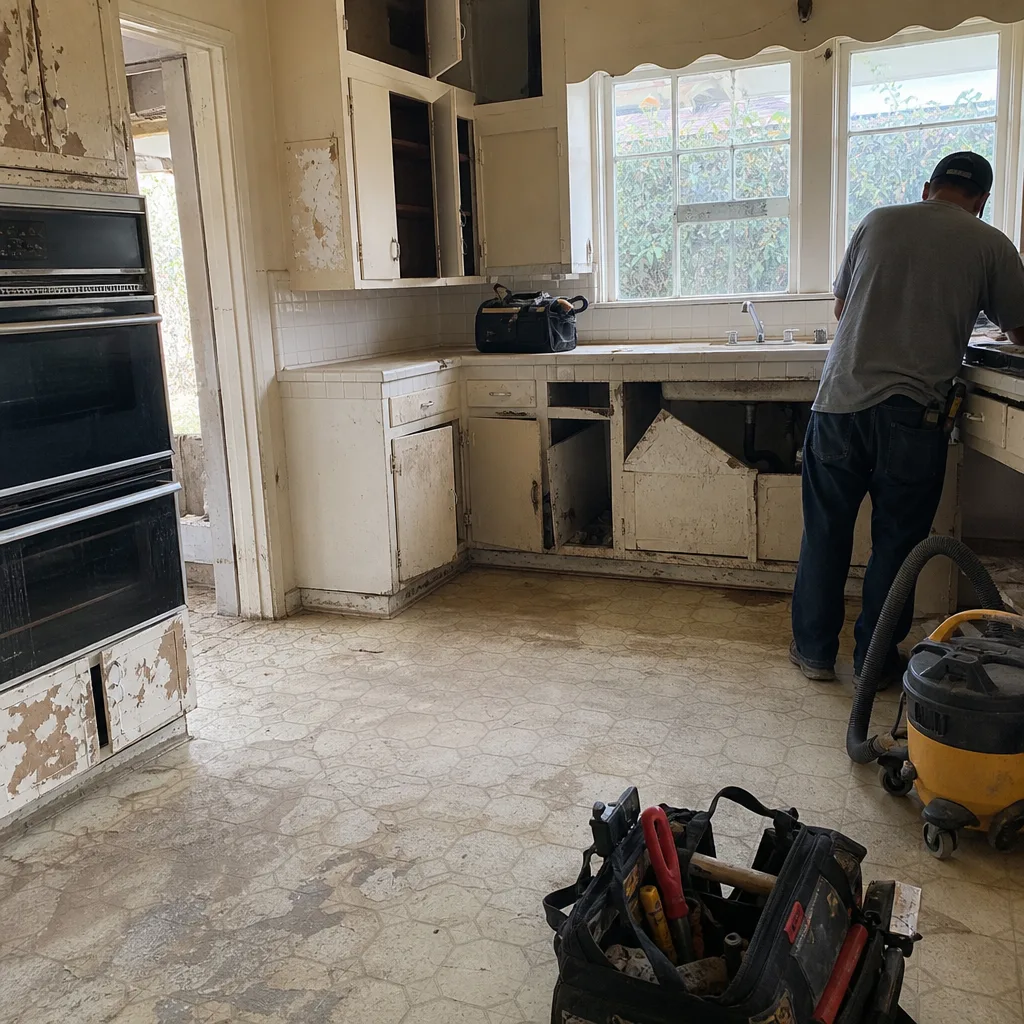 Before
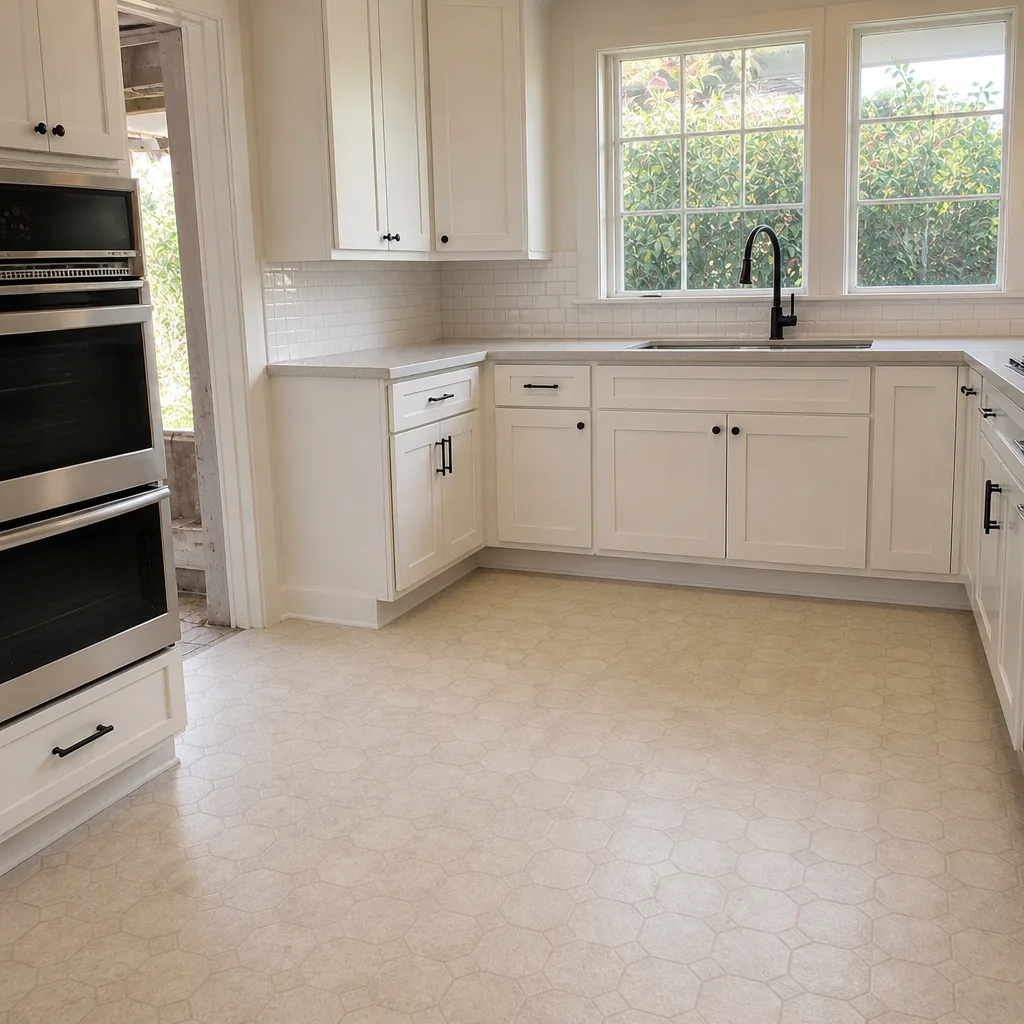 After
When to Call a Professional
Some of this is homeowner work. Some of it isn’t. Call us when the caulk joint has failed and water has reached the tile, when the cabinet floor is soft or swollen, when a supply line shows corrosion or a bulge, when a drawer slide has torn out of the cabinet side, or when the range hood no longer vents properly and the duct path needs attention. Those are the calls where a five-dollar part becomes a panel replacement if you wait. Electrical work at the disposal or dishwasher outlet, gas line connections, and anything that requires opening a wall or a cabinet box should be handled by a trained professional – not because it’s hard, but because the failure mode is dangerous. Bradford Remodeling Co Pasadena offers free estimates in Pasadena – call (888) 841-5410 and we’ll tell you what’s a maintenance task and what’s a repair.
Frequently Asked Questions
Every two to three years in a working kitchen. That joint is a sacrificial seal, not a permanent one. Inspect it quarterly, and re-caulk when the bead cracks, lifts, or discolors – before water migrates behind the tile. Call (888) 841-5410 for an exact quote on a professional re-caulk – estimates are free.
A slow leak from a supply line, a drain slip nut, or the dishwasher connection that has been seeping long enough to soak the substrate. Swelling and softness mean water has been sitting. It’s a repair now, not a maintenance item – call us to inspect before it becomes a cabinet replacement.
Test it, don’t guess. Drip water on the grout line: if it beads, the sealer is holding; if it absorbs, it’s due. In most kitchens with a working cooktop, that works out to an annual application of a penetrating sealer. Re-seal in the fall in Pasadena, before the driest stretch.
Yes, if the manual specifies an interval you didn’t follow. Manufacturers deny claims for documented neglect – a dirty dishwasher filter or a dry-grinding disposal are the classic examples. Keep a dated log and your claim has support. Call (888) 841-5410 if you’re unsure whether a failure is covered.
Damp cloth, mild soap, dry immediately. No abrasives, no solvents, no standing water at the seams or edges. Thermofoil’s failure point is a lifted edge, and moisture behind the film makes it peel. Keep high heat away – a door directly above a cooktop is the usual victim.
Every completed Bradford project carries a full-year written guarantee. If the work fails inside that window, we come back and correct it at no charge. It covers the workmanship we performed – not the maintenance tasks in this guide, which are yours. Keep the dated log; it makes a claim straightforward. Call (888) 841-5410 for details on your specific project.
The Bottom Line

A remodeled kitchen is not a finished product; it’s a system of components with service intervals. Caulk every two to three years. Inspect the under-sink cabinet floor quarterly. Clean the hood filter monthly. Seal grout annually. Match your cleaning product to the cabinet finish, and keep a dated log so any warranty claim has paper behind it. That calendar is the cheapest part of owning a remodeled kitchen and the difference between a kitchen that lasts and one that gets torn open again at year seven. Here’s the plan:
Get a free estimate. Call Bradford Remodeling Co Pasadena at (888) 841-5410. We’ll give you a written price before any work starts, put the 365-Day Done Right Promise behind the finished work, and leave you with a documented scope in hand – squared away, in writing.
Written by the team at Bradford Remodeling Co Pasadena.