Last updated November 18, 2026








Free written scope consultation - allowances, timeline, and change-order rules on paper before a single trade is scheduled
Bathroom Remodeling Troubleshooting: Common Problems and How to Fix Them
Grout cracking at tile joints within the first year is almost never a materials problem. It’s a substrate deflection problem that should have been caught before the tile went down. By the time you see the crack, the fix costs roughly three times what prevention would have. In our experience across Pasadena bathrooms, from 1920s Craftsman bungalows near Bungalow Heaven to newer builds in Hastings Ranch, most failures trace back to sequence: work done out of order, inspections skipped, or finish materials set before moisture conditions were confirmed. This guide helps you diagnose what actually went wrong, what recourse you have, and when to call someone.
Quick Answer
Most bathroom remodel problems are sequence failures, not construction failures. A leak is usually a waterproofing or drain connection issue rather than a fixture seal, cracked grout almost always means substrate deflection, and a running exhaust fan often moves no air at all. Diagnosing which failure you have determines whether your recourse runs to the installer, the manufacturer, or a state licensing board.
Styles & brands we work with
- Kitchen remodeling
- Bathroom remodeling
- Home additions & ADU
- Roofing
- Windows & doors
- Driveway & pavers
- Fence
Table of Contents
- How to Diagnose a Bathroom Leak
- Why Tile Lifts, Lips, and Cracks
- Ventilation Failures and What Code Requires
- The Sequence That Prevents Most Problems
- Workmanship Guarantee vs. Manufacturer Warranty
- Filing a CSLB Complaint: What It Covers
- Pasadena Climate and Moisture Problems
How to Diagnose a Bathroom Leak
A bathroom leak has three common sources, and each one requires a different repair path. Before you call anyone, figure out which one you’re dealing with. Misdiagnosis is the most expensive mistake in this whole category.
The first source is a fixture seal failure. That’s the wax ring under a toilet, the caulk line where a tub meets tile, or the supply line connections at a sink. These are the least costly to fix and usually show up as moisture directly beneath the fixture. If water appears only when the toilet flushes or the tub runs, you’re looking at a fixture seal.
The second source is a waterproofing failure. Waterproofing sits behind the tile in a shower or tub surround. When it fails, water migrates into the wall cavity or the floor assembly and shows up as efflorescence, a musty smell, or a soft spot in drywall. The telltale sign: moisture appears whether or not water is actively running, because the substrate stays wet for days.
The third is a drain connection failure. This is a cracked or improperly glued drain pipe assembly. It shows up as a stain on the ceiling below that gets worse when the shower drains, not when the fixture runs. Look for water rings that track directly under the drain footprint.
Quick diagnostic checklist
- Shut off water to the fixture for 24 hours. If the stain stops growing, it’s a supply-side or fixture issue.
- Run only cold water at the tub, then at the shower, then flush the toilet one at a time. Watch the exact spot below for a change.
- Check the subfloor near the toilet with a moisture meter. A reading above 15% is a wax ring or flange problem.
- Look for efflorescence (white mineral haze) on grout or at the tile-to-floor joint. That signals long-term moisture behind the tile.
- Inspect the ceiling below for a water ring that lines up directly under the drain grate or P-trap.
Waterproofing failures are the ones that turn into a gut remodel. Fixture seals are usually a one-visit fix. If you can’t tell which you have, stop running the water and get a professional onsite. Our Bathroom Remodeling in Pasadena team routinely diagnoses all three in a single visit.
Why Tile Lifts, Lips, and Cracks
Tile lippage – where one tile’s edge sits higher than its neighbor – and grout cracking almost always point to the substrate, not the installer’s trowel work. When we hear a homeowner say “the tile guy did a bad job,” the actual cause is often that the floor or wall flexed before the tile went down.
A bathroom floor in a typical Pasadena bungalow is often 1930s or 1940s plank subflooring over old joists. Those joists were framed for linoleum, not for a porcelain tile bed. Tile is rigid; the floor has to be rigid enough that the deflection – how much the floor bends under load – doesn’t crack the grout. Standard ceramic tile requires a deflection no greater than L/360 under total live load, which means no more than 1/360 of the span. That’s a real number your contractor should check before setting tile.
The fix depends on what stage you’re in:
- Before installation: Add a cement backer board or an uncoupling membrane. On older Pasadena floors, a second layer of plywood plus backer board is often needed to hit the deflection number.
- After installation with isolated cracks: Rake out the cracked grout, regrout with a flexible grout, and monitor. If cracks return in the same spot within 90 days, the substrate is moving.
- After installation with widespread lippage: The tile has to come up, the substrate gets corrected, and the tile is re-set. Grout alone won’t fix a moving floor.
Wall tile lippage is often a mortar bed thickness problem on uneven framing. In a 1920s Pasadena home, the studs may be out of plumb by 3/4 inch over a four-foot wall. Straightening the framing before tile goes down is non-negotiable. If it wasn’t done, the lippage is baked in and only comes out by demo.
Ventilation Failures and What Code Requires
A bathroom exhaust fan that hums does not mean it’s moving air. That’s the single most common ventilation failure we run into. Code is specific: bathroom exhaust must move air at a rate that produces a minimum of 8 air changes per hour for the room, or a fan rated for at least 50 CFM for intermittent use. Many builders install a 50 CFM fan into a 100-square-foot bathroom and call it done, but 100 square feet needs closer to 67 CFM. The fan runs, the mirror fogs, and moisture never leaves.
How to test if your fan is moving air
- Hold a single square of toilet paper against the fan grille. A working fan holds it flat against the grille without sagging.
- Check the fan’s rating: it’s printed on a label on the housing or in the manufacturer’s spec sheet. Match the CFM to the room’s square footage (roughly 1 CFM per square foot as a floor).
- Confirm the fan exhausts to the exterior, not into the attic. A duct that dumps into the attic moves air out of the bathroom, but the moisture stays in the house.
- Look at the roof cap or wall cap. If it’s a flapper that has stuck open, air may be back-drafting into the bathroom.
- Straight, short duct runs work. A lengthy, corrugated run with multiple elbows will kill the fan’s actual airflow even when the fan is rated correctly.
California’s building code requires a bathroom exhaust to vent to the outdoors and to be sized for the room volume. If your Pasadena bathroom was last remodeled before 2010, the odds are good the fan is undersized, or the duct is flexible, corrugated, and running 20 feet to a soffit vent. In humid Pasadena summers, that’s a recipe for persistent moisture, efflorescence at the tile, and eventual mold behind the walls.
The Sequence That Prevents Most Problems
The thesis of this guide is simple: most bathroom remodeling problems are sequence failures. Skipping a step or running two steps out of order creates failures that surface months later. This is the order that has to hold on every job.
- Demo and inspection. Pull everything to the studs. This is where you find old water damage, termite activity, or knob-and-tube wiring that was hidden.
- Framing corrections and rough-in. Plumb the walls. Set the rough plumbing and electrical, size the exhaust fan correctly.
- Inspection of the rough work. This is the step most often skipped by unlicensed contractors. Get the plumbing rough and electrical rough signed off before anything closes the wall.
- Insulation and moisture barrier. Wet-area waterproofing goes in on the substrate, not over drywall.
- Waterproofing test. Flood test the shower pan for 24 hours before tile goes down. If it leaks, you find it now, not after the tile is bonded.
- Substrate prep before tile. Confirm deflection, flatten the substrate, then set.
- Tile and grout. Install with the correct mortar for your substrate; grout with a flexible, sealed grout.
- Fixture trim-out. Set the toilet, sinks, shower doors, and hardware only after the substrate is confirmed dry.
- Cure and vent. Run a fan that actually moves air for at least 72 hours before regular use, particularly in humid months.
- Final inspection. Get the final sign-off and a written copy in hand.
Skipping step five is the single most common cause of a shower pan that leaks three months later. Skipping step three is what puts you behind on permit history when you go to sell the home. A written scope that locks this sequence is the foundation of the whole job – see our General Contractor in Pasadena page for how we handle it.
Workmanship Guarantee vs. Manufacturer Warranty
Two warranties cover your bathroom. A workmanship guarantee covers the labor and installation. A manufacturer warranty covers the product. When something fails, you need the right party on the hook, and that depends on what failed.
- Workmanship failures: cracked grout, leaking pan connection, tile lipage, plumbing that losens at the trim, an exhaust fan that was wired but not vented to the exterior. These should be covered by whoever installed it.
- Manufacturer defects: a faucet cartridge that drips from day one, a toilet that arrives cracked, a fan motor that burns out inside its written warranty, a tile lot with visible defects. These go to the brand – Kohler, Moen, and similar names hold their own warranties.
- Boundary cases: grout that cracks because the tile over a deflecting substrate, or a shower pan that leaks because the installer skipped flood testing. Those are workmanship. Grout that cracks because the installer used a cement grout in an area that needed flexible grout is also workmanship.
Our 365-Day Done Right Promise puts this in writing: if the work fails within 12 months of completion, we return and correct it at no charge. That guarantee attaches to workmanship, not to product defects, which the manufacturer covers. When a homeowner asks us which warranty applies, we point at the paper. Every estimate we hand over states what the guarantee covers and for how long, before any work starts.
Filing a CSLB Complaint: What It Covers
The California Contractors State License Board (CSLB) is the recourse when a licensed contractor won’t fix work that failed. It covers cases where workmanship is defective, the contractor abandoned the job, the contractor took a deposit and didn’t perform, or a valid contract was violated. It does not cover disputes over scope or change-order pricing, which are civil matters.
Before you file, gather the paperwork:
- A signed contract with the scope, schedule, and price clearly stated.
- Any change orders in writing, signed by both parties.
- Photos and video of the failure, dated.
- A written record of your attempts to get the contractor back to fix it, with dates.
- Invoices, payment records, and the contractor’s license number as shown on the contract.
What CSLB covers: unlicensed contracting, workmanlike standards violations, abandonment, and violations of the Contractors’ State License Law. What it does not do: force a contractor to give you a refund for “quality differences,” or settle a change-order dispute. File through the CSLB website or by mail. A CSLB investigator will typically reach out within a few weeks to review the complaint.
One legitimate detail to note: many homeowners get bogged down on the line between “workmanlike” and “acceptable.” Photos shot from a distance rarely convey the problem. Photos with a framing square or a level against the offending tile do. That’s the kind of evidence a CSLB investigator can actually act on.
Pasadena Climate and Moisture Problems
Pasadena sits in a dry, warm climate for most of the year, and that creates a false sense of security around moisture. The reality: the region’s cooling season is long enough that a bathroom with no moving air will accumulate moisture problems, particularly in the June-through-September window. The Santa Ana wind events in fall pull humidity out of the air, but the shoulder-season months between September and November keep interior humidity high enough in an unventilated bathroom to grow mold behind the toilet in about 30 to 60 days.
The other Pasadena-specific factor: many of the city’s older neighborhoods have homes built from 1900 to 1940. Wall assemblies on those houses are thinner than modern framing, the subfloor is often plank, and the plumbing rough-in is iron or galvanized rather than PEX. Iron drain lines in older Pasadena homes develop pinhole leaks and get covered up behind tile. If a leak surfaces in a bathroom in one of those neighborhoods, the first inspection should include a camera down the drain and a check for old trap assemblies behind the wall.
The climate is also a reason to schedule a bathroom remodel for the drier months when possible. April through June lets you run the fan and let the wall cavity dry naturally while a pan flood test cures. Trying to cure a shower pan in August, when interior humidity is already at its peak, is asking for a delayed failure. We plan Pasadena bathroom schedules with that in mind.
Common Mistakes to Avoid
- Skipping the flood test on a shower pan. Twenty-four hours of flood testing before tile saves five figures of repair. Contractors who skip it either don’t know better or are cutting a corner.
- Setting tile over the original subfloor in older Pasadena homes. The 1930s plank floor will deflect under a tile bed. Add plywood and a backer board, or use an uncoupling membrane. No shortcut here.
- Sizing an exhaust fan for the wrong room volume. A builder-grade 50 CFM fan in a 100-square-foot Pasadena bathroom doesn’t meet code. Check the actual rating.
- Venting a bathroom fan into the attic instead of outdoors. This moves moisture out of the bathroom and into the attic, where it eventually damages framing.
- Treating a waterproofing leak as a fixture seal failure. Re-caulking a tub won’t fix a shower pan that failed its flood test. Diagnose the source before calling for a repair.
- Going to the manufacturer for a workmanship failure. Kohler and Moen won’t cover the installer’s labor. The manufacturer covers the product; the installer covers the installation.
- Filing a CSLB complaint without written records. The board needs documentation, not a verbal description. Get everything in writing before you file.
- Accepting a verbal change order. Every scope change, price change, and schedule change needs a written signature. If it moves the number, it goes on paper at the door.
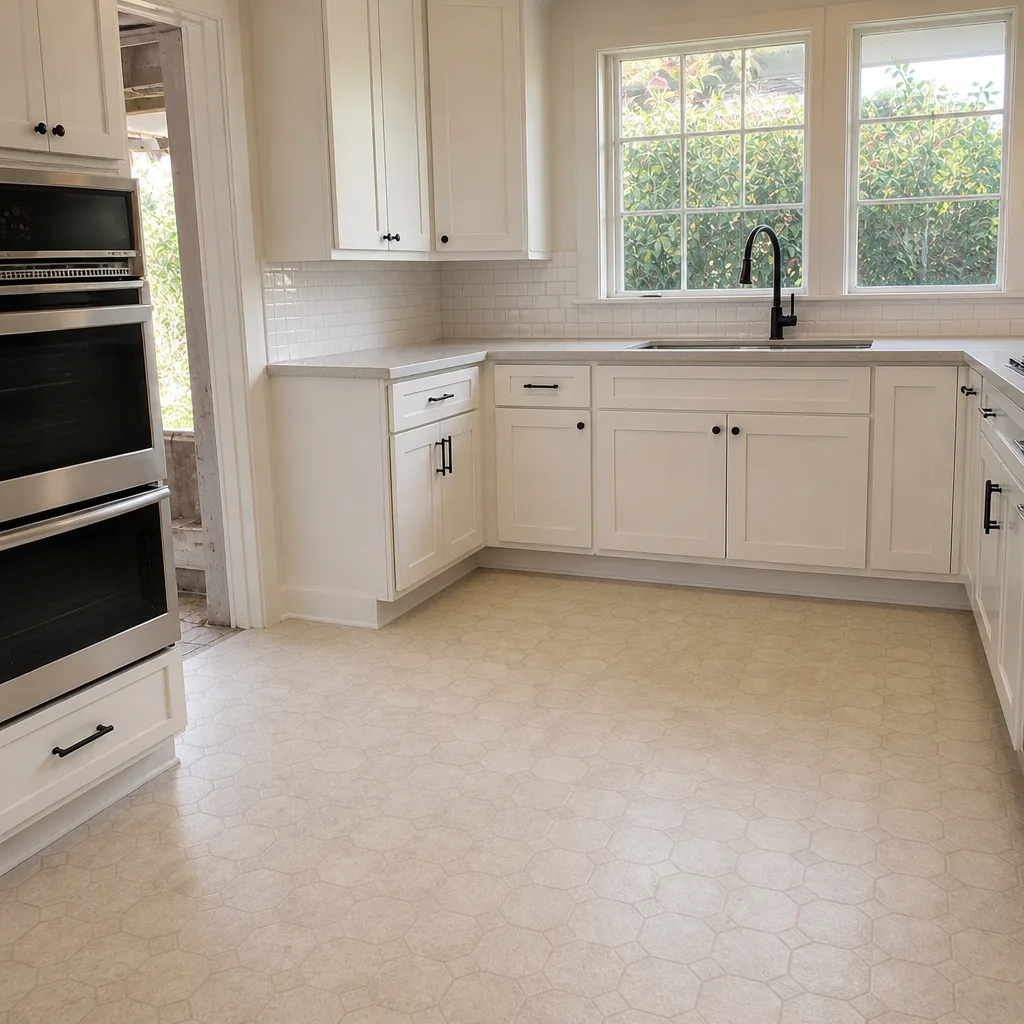
See the difference
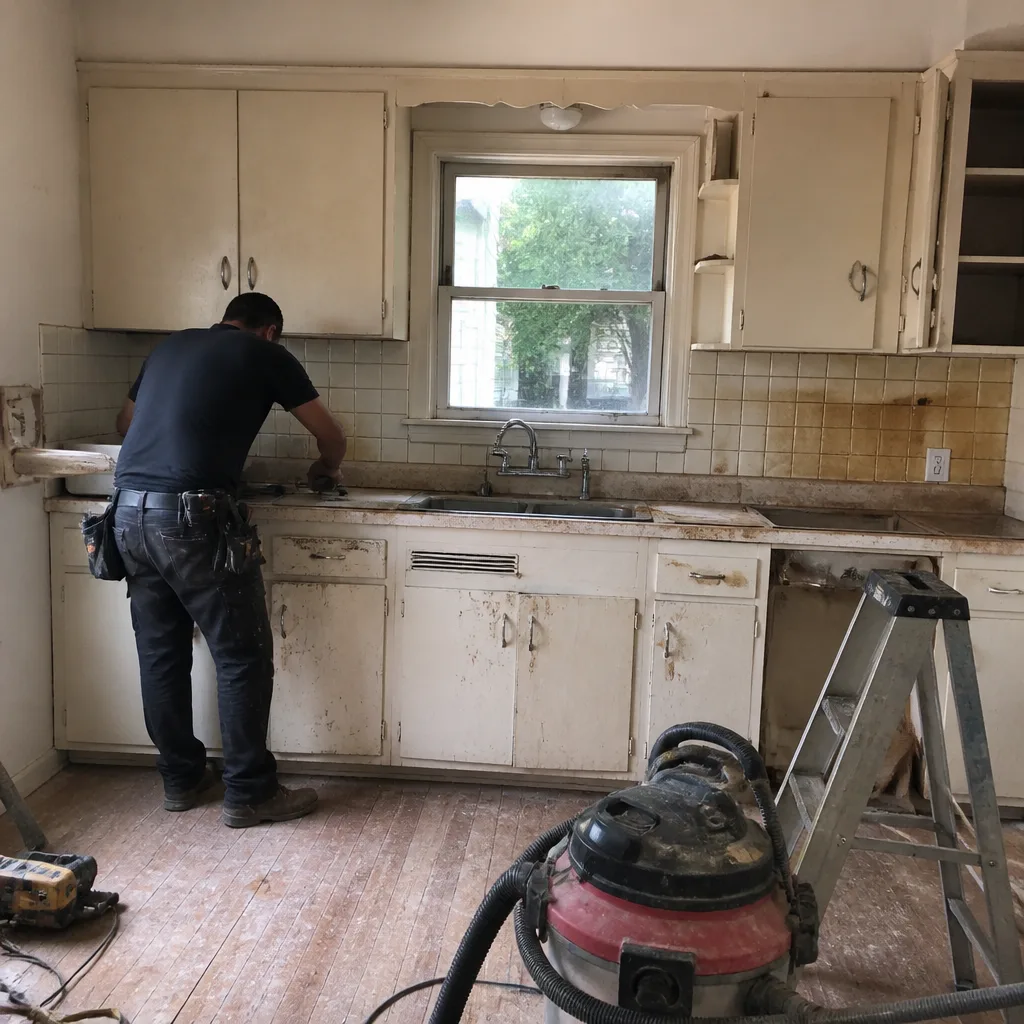 Before
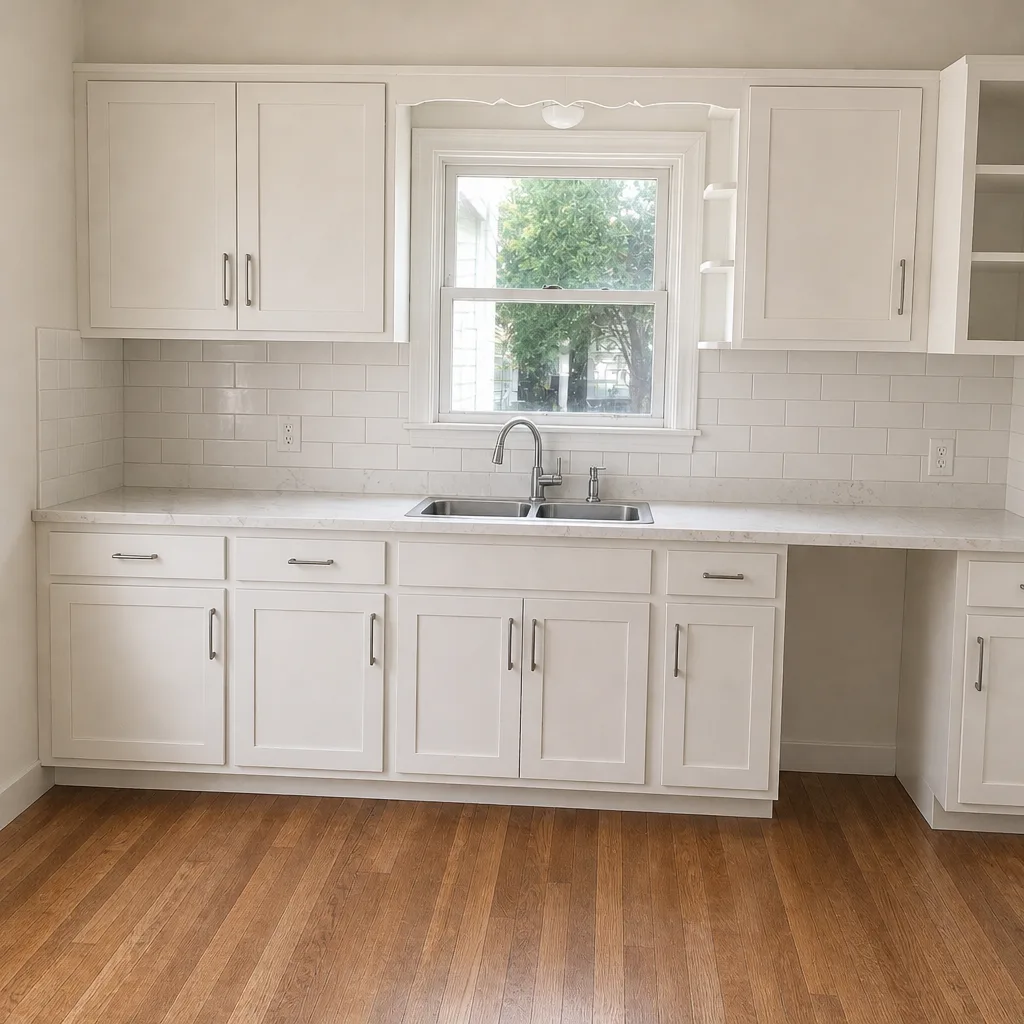 After
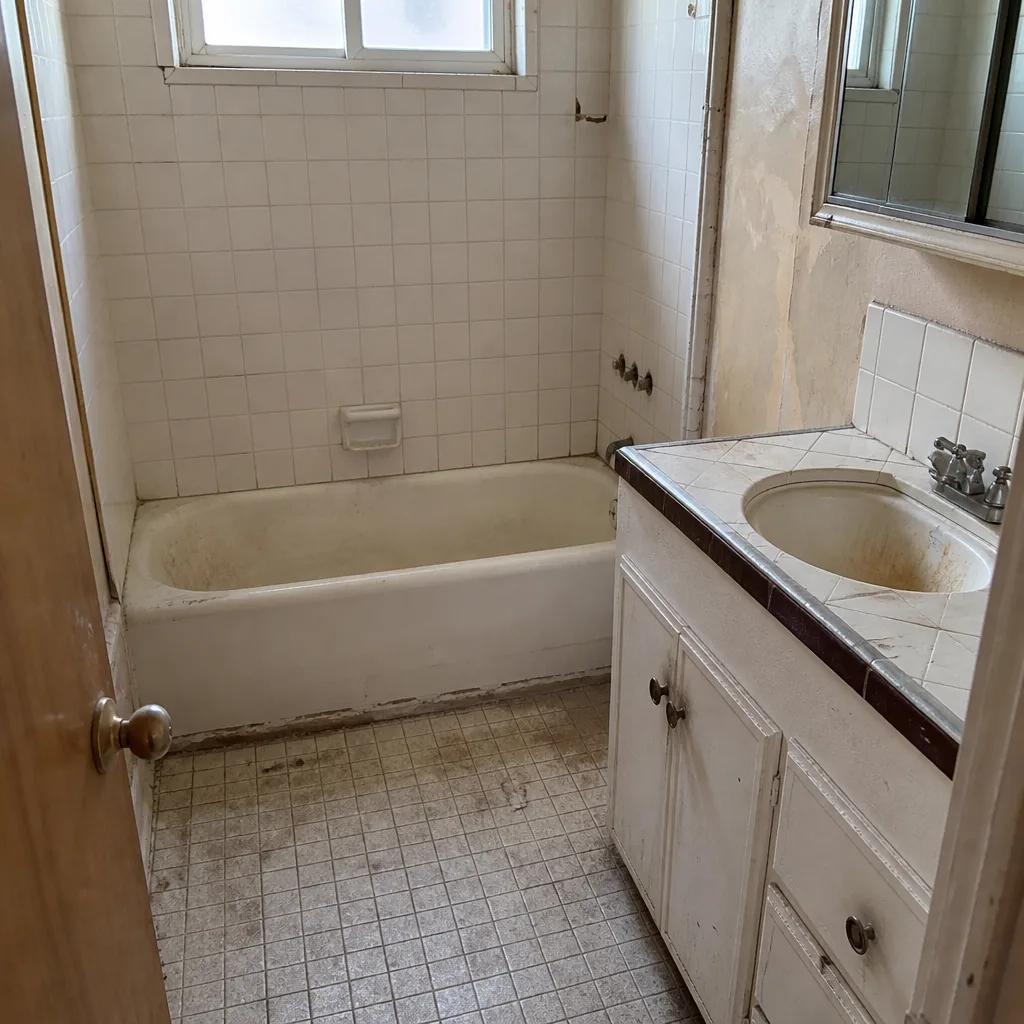 Before
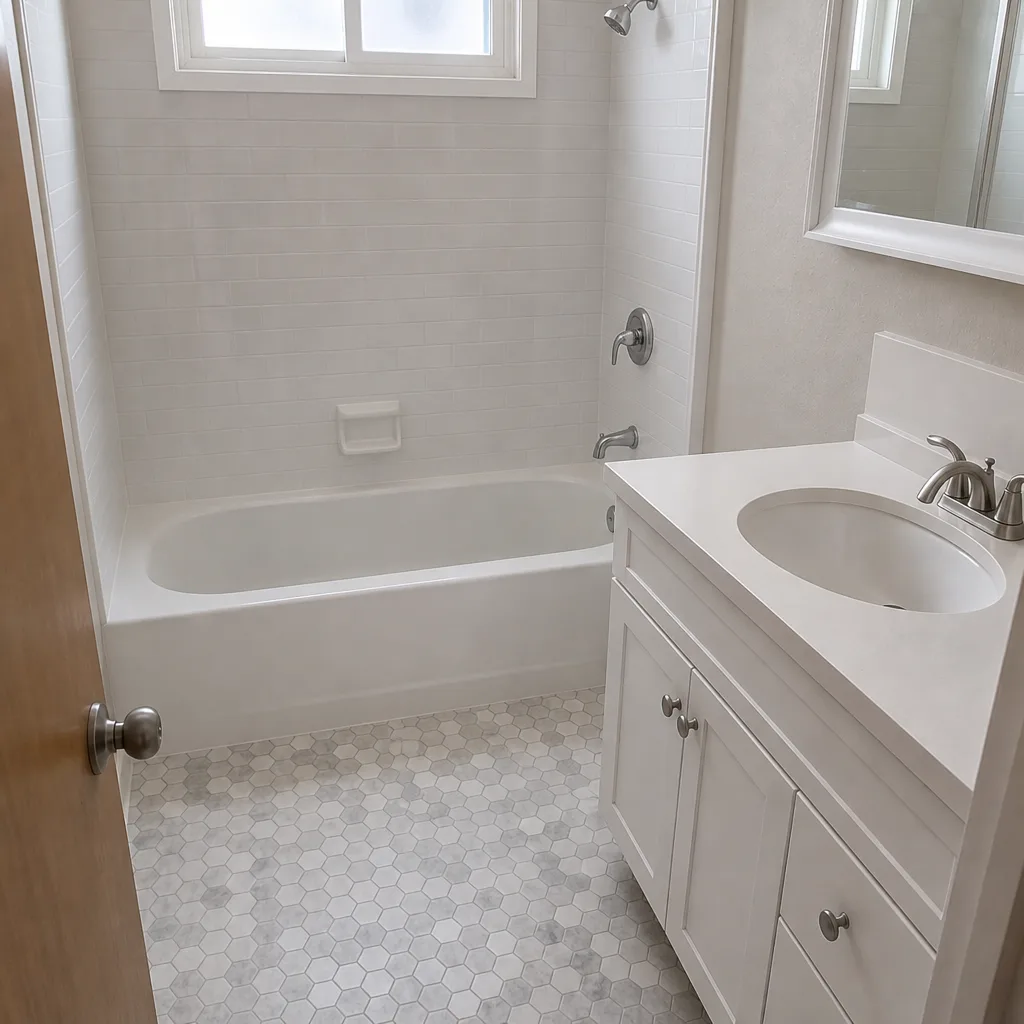 After
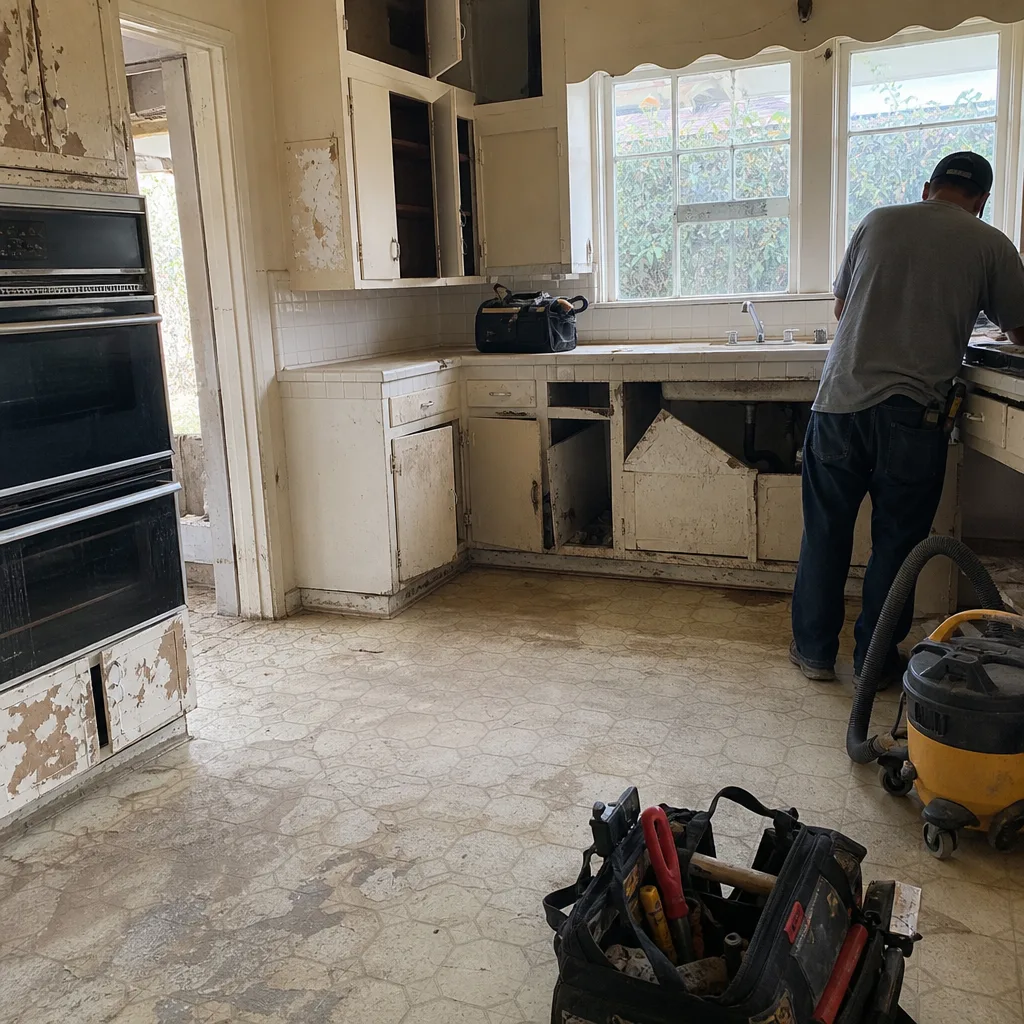 Before
 After
When to Call a Professional
Call when you can’t positively identify the source of a leak, when tile cracks continue to return in the same spot after regrouting, or when your exhaust fan runs but the mirror still fogs within five minutes of a shower. Any of those three is a sign the substrate or waterproofing is compromised. Call when a shower pan shows efflorescence at the grout, or when the ceiling below a bathroom shows a water ring that grows while the shower is running. And call when your contractor has stopped returning calls, before you file a complaint – having a licensed second opinion on paper is worth the visit. Bradford Remodeling Co Pasadena offers free estimates in Pasadena – call (888) 841-5410. Every visit starts with a written scope and a written price, and every completed project carries the 365-Day Done Right Promise.
Frequently Asked Questions
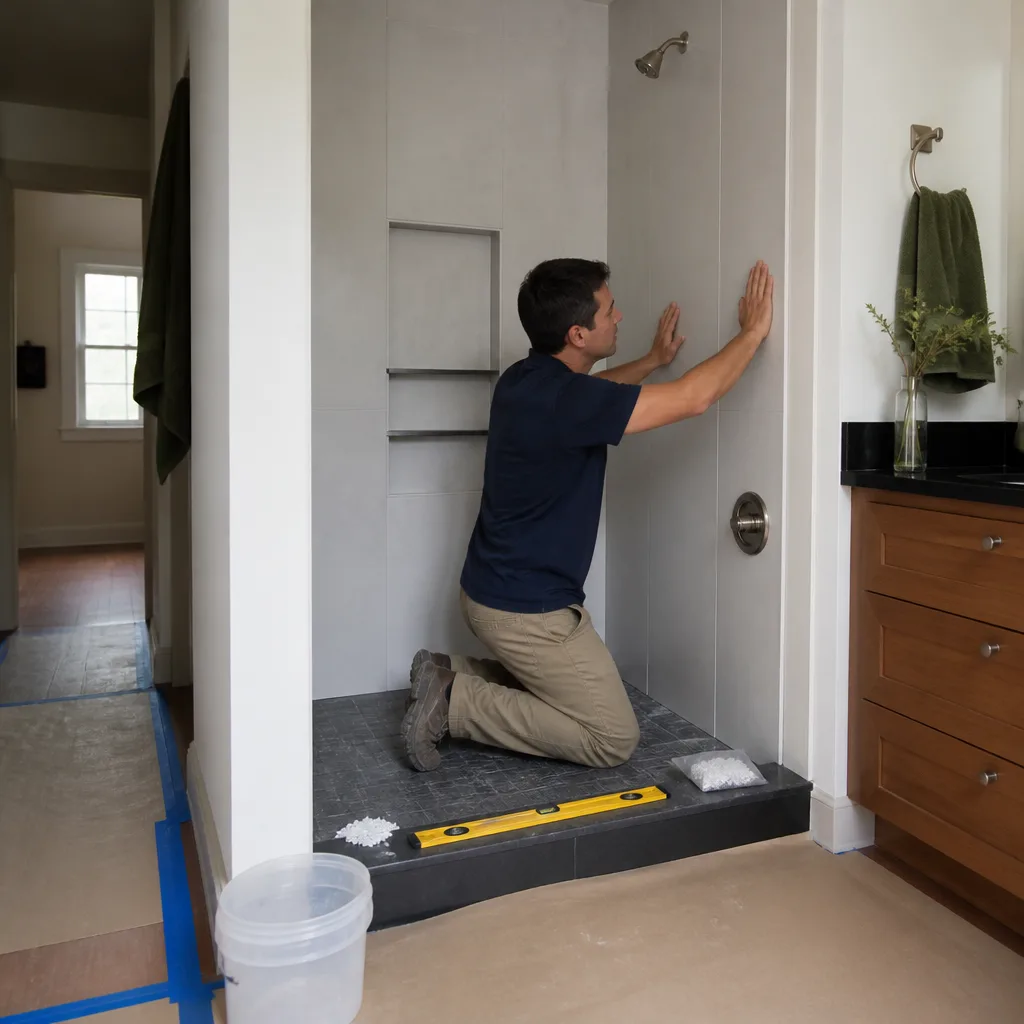
Grout cracking within a year almost always means the substrate underneath the tile is flexing. Grout is rigid, tile is rigid, so any movement in the floor or wall transfers directly into the joint. On a Pasadena 1930s bungalow, that’s often plank subflooring that wasn’t reinforced. The fix starts with identifying where the movement is happening – a level on the tile surface and a moisture meter at the subfloor will tell you. Call (888) 841-5410 for a free diagnostic visit; estimates are free.
Hold a single square of toilet paper against the grille. A fan that’s moving air holds it flat; one that’s just humming lets it sag. Then check the fan’s CFM rating against the room’s square footage – you want roughly 1 CFM per square foot as a minimum for intermittent use. If the fan passes the tissue test but your mirror still fogs in under five minutes, the duct is likely undersized or venting into the attic instead of outdoors. Call (888) 841-5410 and we’ll diagnose the airflow and give you a written price on the fix.
It depends on what failed. If the shower pan was installed without a flood test, or if the waterproofing membrane behind the tile was compromised during install, that’s a workmanship failure and the installer’s responsibility. If a Kohler or Moen shower valve cartridge is leaking internally, that’s the manufacturer’s warranty. Have a professional diagnose the source before you file a claim with either party – misdirecting a workmanship complaint to the manufacturer will get you nowhere. Call (888) 841-5410 for a written diagnosis and estimate.
The California Contractors State License Board covers defective workmanship, unlicensed work, abandonment of a job, and violations of the Contractors’ State License Law. It does not cover change-order disputes or “quality differences” that are subjective. You’ll need a signed contract, written change orders, dated photos, and a written record of your attempts to get the contractor back. A CSLB investigator typically reaches out within a few weeks to review the file. Call (888) 841-5410 if you want a second opinion before you file.
Fixture seal repairs typically run $150 to $400. Substrate and waterproofing failures, which require tile removal and reinstall, commonly run $3,000 to $9,000 depending on the extent. A full shower pan replacement runs $4,500 to $11,000 if the waterproofing and tile are both involved. Getting a written estimate up front is the only way to know what your specific repair will run – the numbers move based on what’s underneath. Call (888) 841-5410 for a written, itemized estimate; all estimates are free.
Yes – a shower pan replacement that touches waterproofing and plumbing is a permit-worthy repair in Pasadena. The permit process includes a flood test inspection before the tile goes down, which is exactly the step most unpermitted repairs skip. Skipping it puts you in front of a CSLB complaint or a failed home sale inspection later. When we quote a bathroom repair, permits and inspections are part of the written scope, not an add-on. Call (888) 841-5410 for a free estimate.
The Bottom Line
Most bathroom remodeling problems trace back to sequence, not skill. Grout cracking, tile lippage, shower leaks, and running-but-not-ventilating exhaust fans are all symptoms of a step that got skipped: the flood test, the deflection check, the external vent to the outdoors. Diagnose which failure you have before you call anyone, because the repair path and the party on the hook are different for each. Get your estimate in writing. Get your warranty in writing. If your last contractor didn’t put both on paper, that’s the first fix for the next one. Take a look at what a squared-away project looks like by starting at Bradford Remodeling Co Pasadena home, and see how a properly sequenced renovation runs on our Kitchen Remodeling in Pasadena page.
Bradford Remodeling Co Pasadena works from a written scope on every job – a written price before any work starts, a documented roster of name-brand materials, background-checked and uniformed technicians, and live-person phone coverage at all hours. When a project closes, the site is clean, the scope is signed, and the 365-Day Done Right Promise is in your hand in writing. Give us a call at (888) 841-5410 for a free estimate.
Written by the team at Bradford Remodeling Co Pasadena.