Last updated November 18, 2026







Free written scope consultation - allowances, timeline, and change-order rules on paper before a single trade is scheduled
Bathroom Remodeling Maintenance Schedule: What to Do and When
Silicone caulk at the tub-to-tile joint is not a cosmetic detail. It is the primary water barrier for the wall framing behind it. Most sealant manufacturers specify re-inspection at 12 months, but almost no contractor mentions that before they pack up and leave. The first 90 days after a bathroom remodel are the window that decides whether the work holds for a decade or starts failing in year five. In this guide, we lay out exactly what to inspect, retighten, reseal, and test at 30, 90, and 365 days – and how to document it, because the maintenance you do in a Pasadena bathroom also decides whether your written guarantee stays valid.
Quick Answer
A newly remodeled bathroom needs a 30-day check (caulk cure, fixture set screws, supply line connections), a 90-day check (grout absorption test, exhaust fan airflow, shutoff valve operation), and a 365-day re-inspection (annual reseal, re-caulk, and a full moisture and warranty review). Do the three checks and document each one; skip them and the most common failures – a receding caulk bead, a seized shutoff valve, a sealed-over grout line – all land in the same 12-month window.
Styles & brands we work with
- Kitchen remodeling
- Bathroom remodeling
- Home additions & ADU
- Roofing
- Windows & doors
- Driveway & pavers
- Fence
Table of Contents
- The First 90 Days: Why This Window Decides Everything
- The 30-Day Checklist
- The 90-Day Checklist
- Grout Sealing: First Coat, Absorption Test, Annual Schedule
- Supply Lines and Shutoff Valves: The Inspection Everyone Skips
- Exhaust Fan Filters, Ducts, and Moisture Control
- The 365-Day Check and Your Warranty
- How to Document Your Maintenance for a Valid Warranty Claim
The First 90 Days: Why This Window Decides Everything
Freshly installed materials move. Silicone cures, grout continues to hydrate, wood substrate across the vanity framing settles, and fixture set screws shift under the first weeks of real use. That movement is normal, but it means the systems that seal and hold your bathroom are at their most fragile right after the job closes. In Pasadena, with its dry summers and occasional humidity swings through the San Gabriel Valley, the caulk and grout in a bathroom go through more thermal cycling in that first quarter than they will in most of year two.
In our experience, the difference between a bathroom that holds for a decade and one that starts leaking at year five is almost never the quality of the install. It is whether the homeowner caught the small drift early. A caulk bead that pulls a millimeter away from the tub apron at day 60 is a $5 fix. Ignore it for two years and water wicks behind the tile into the framing.
Three areas deserve your attention before the 90-day mark:
- The tub-to-tile joint. The silicone seam is the water barrier protecting the wall framing. Check it weekly for the first month, then monthly.
- Fixture set screws. Faucet handles, towel bars, robe hooks, and the toilet seat hinges loosen with use. A loose towel bar set screw is a stripped anchor waiting to happen.
- Supply line connections. The braided lines under the sink and behind the toilet need a visual check for weeping at the fittings after the first full month of pressure.
When we finish a bathroom remodel in Pasadena, this schedule goes on paper and into the homeowner’s hand – it is part of what we consider a squared-away close on the job. If your contractor handed you a verbal “just keep it caulked” and nothing else, this guide is the schedule you’re missing.
The 30-Day Checklist
The 30-day check is the most important one, because it catches the earliest movement while everything is still under guarantee and fresh in both your memory and ours. Set aside 30 minutes. A flashlight, a dry rag, and a screwdriver are the only tools you need.
- Press the caulk bead at the tub and shower base. Run a fingertip along the silicone seam where the tile meets the tub or pan. Any gap, lift, or soft spot means it’s time to call and have it corrected – not to re-caulk yourself and void the installation’s coverage.
- Check the toilet base. Rock it gently. A toilet that shifts at the floor is a wax ring or flange issue, and it should be caught now, not when the subfloor stains.
- Look under the sink for weeping. Dry the supply line fittings and the P-trap, wait a day, and look for moisture at the compression nuts and the braided line crimps.
- Tighten fixtures by hand or with a driver. Set screws on towel bars, grab bars, robe hooks, faucet handles, and the toilet seat. Stop when snug; do not over-torque, especially on ceramic or glass.
- Test every shutoff valve. Turn the angle stops under the sink and behind the toilet a quarter-turn and back. A valve that hasn’t moved in 30 days is still easy to turn; one that hasn’t moved in three years may seize or weep.
- Run the exhaust fan for 20 minutes. Confirm the airflow pulls a tissue against the grille. Listen for rattle or vibration.
- Walk the shower pan grout. Look for hairline cracks at the drain collar and the corners – the highest-movement points in a new shower.
If anything on this list fails, call your contractor and let them fix it under guarantee. In our case, the 365-Day Done Right Promise means we return and correct the work at no charge if it fails within the guarantee period – but the maintenance you do at day 30 is what gives you a clean record to claim against.
The 90-Day Checklist
By the 90-day mark, the bathroom has settled. The caulk is fully cured, the grout has hydrated, and the fixtures have been used enough that any real defect will have shown itself. This check is less about catching movement and more about confirming the systems are working.
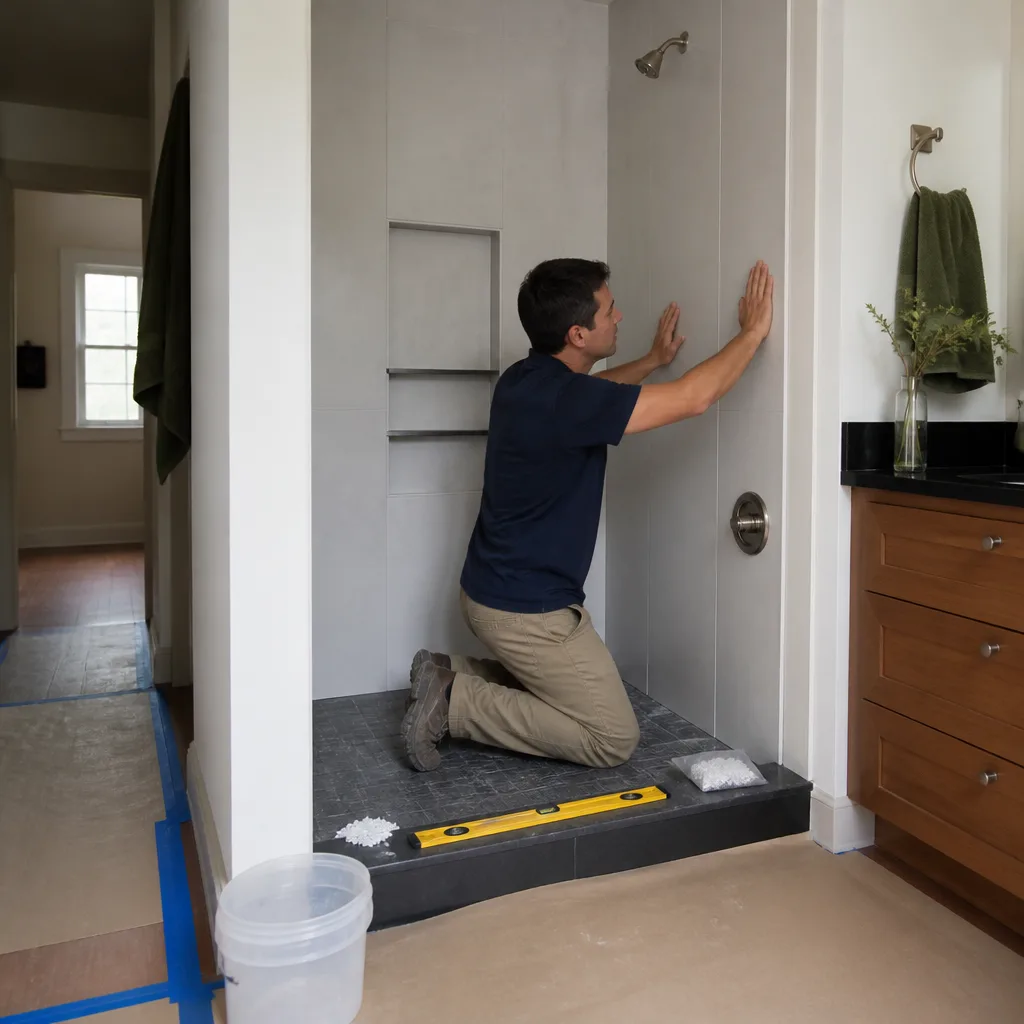
- Grout absorption test. Drip a few drops of water on the shower floor and wall grout. If the water beads and sits on the surface, the sealer is working. If it darkens and soaks in, the grout needs sealing before it stains.
- Re-inspect the caulk bead. At 90 days, silicone that was applied at handoff is fully cured. Any receded or lifted section now is a real issue, not cure-time shrinking.
- Test the shutoff valves again. Same quarter-turn and back. This is the cadence that keeps them from seizing.
- Clean the exhaust fan grille. Dust and lint on the intake grille cut airflow. Pull the cover, rinse it, and check the duct connection while it’s off.
- Check the paint and drywall at the door and ceiling. Look for peeling, bubbling, or soft spots. In a Pasadena bathroom, these are the first signs of a moisture problem the fan isn’t handling.
- Inspect cabinet doors and drawer slides. Tighten hinge screws and check that soft-close mechanisms still close smoothly.
A new bathroom also brings new substrate under tile. If you notice a hollow sound under a tile when you press your heel to it, flag it now – a delaminated tile at 90 days is a warranty item, not a maintenance one.
Grout Sealing: First Coat, Absorption Test, Annual Schedule
Sealing grout happens in layers, and the timing matters as much as the product. The first coat goes on after the grout has fully cured – typically 72 hours to 7 days after installation, depending on the grout type and the humidity. Penetrating sealers need that full cure window to bond, and applying too early traps moisture in the grout and produces a milky haze.
Quick Answer: Apply the first coat of penetrating grout sealer 72 hours to 7 days after installation, re-test with the water-drop method at 90 days, and reseal annually after that – more often in a shower that sees daily use or in a Pasadena bathroom with a humidistat-controlled exhaust fan that only runs intermittently.
How to tell if the sealer is doing its job:
- Drip 3 to 4 drops of water on the grout in three spots: the shower floor, the wall, and a low-traffic area behind the toilet.
- Wait 5 minutes.
- If the water beads and rolls, the sealer is holding.
- If any spot darkens or absorbs, that zone needs a fresh coat.
- Wipe the test areas dry and note the date.
On a Pasadena tile shower, we usually see the first signs of sealer breakdown at the drain collar and the shower floor, because that is where standing water and soap scum concentrate. Sealed grout lines are not the same as waterproof – the waterproofing membrane sits behind the tile, and the sealer protects the grout from staining and extends its life. Going deeper on the full tile and finish spec for a remodel? Our guide to bathroom remodeling in Pasadena covers the membrane, substrate, and grout decisions that determine how much maintenance your finished bathroom will need.
Supply Lines and Shutoff Valves: The Inspection Everyone Skips
The shutoff valves under a sink and behind a toilet are the plumbing components most likely to fail – and the ones nobody touches. Angle stops that haven’t moved in three years can seize shut or, worse, weep at the packing nut the moment you try to turn them. The failure usually happens under pressure, at a bad time, and the cost is not the valve; it’s the vanity cabinet, the subfloor, and the wall behind the toilet.
What to check and how often:
- Every 30 to 90 days for the first year. Turn each angle stop a quarter-turn and back. A valve that turns freely is a valve that will not seize.
- Visual check for weeping. Dry the valve, wait a day, and inspect for moisture at the packing nut, the ferrule connection, and where the braided line meets the fitting.
- Supply line age. Braided stainless lines degrade over time. Inspect them annually and replace any line that shows fraying, discoloration, or a swollen crimp – a common failure point at year 8 to 10.
- Toilet fill and supply connections. Check behind the toilet at the same cadence. A slow weep at the supply connection can stain the subfloor for months before you notice it.
We tell homeowners the same thing we tell our own techs: exercise the valve. A valve that moves is a valve that works. The ones that fail in a Pasadena bathroom are almost always the ones that haven’t been touched since the remodel. If you are not comfortable turning a shutoff under pressure – and understandably so, since a seized valve can suddenly release water – call a plumber. This one is not a do-it-yourself job once the valve is old, and we would rather you pay a small service call than a water-damage claim.
Exhaust Fan Filters, Ducts, and Moisture Control
The exhaust fan is the least glamorous fixture in a remodeled bathroom and the one that quietly protects everything else. A fan that pulls weak air leaves moisture on the walls, the ceiling, and the back of the drywall – and persistent moisture is what voids paint, drywall, and cabinet warranties. Since Pasadena summers run dry and the shoulder seasons bring more humidity indoors, an undersized or clogged fan goes unnoticed until the paint starts bubbling around the ceiling vent.
A simple maintenance cadence:
- Every 30 days: Wipe the intake grille with a damp rag. Vacuum the grille face if it’s stubborn.
- Every 90 days: Pull the grille cover, rinse it in the sink, and dry it before replacing. With the cover off, look up the duct for dust buildup and confirm the connection is seated.
- Every 12 months: Run the tissue test again. A good fan holds a tissue flat against the grille for 20 seconds. If it doesn’t, the duct may be pinched, disconnected, or clogged, and the fan is not doing its job.
- Every 12 months: Check the duct termination at the exterior or at the roof vent. A blocked or undersized duct is the most common reason a new fan underperforms.
Run the fan during every shower and 15 to 20 minutes after. A humidistat switch automates this and is one of the most reliable moisture-control upgrades for a Pasadena bathroom. If your fan was installed by us, the duct work and connection are part of the written scope, and any airflow failure within the guarantee year is corrected at no charge.
The 365-Day Check and Your Warranty
At the one-year mark, the bathroom is past its settling period and into long-term service. This is the most important maintenance visit because it aligns with the guarantee window – and the most important paperwork you will do for the bathroom.
What a proper 365-day check covers:
- Re-inspect all caulk joints. Tub and shower seams, backsplash-to-counter seams, vanity-to-wall joints. Any bead that has receded, cracked, or lifted gets recaulked.
- Re-test grout with the water-drop method. Reseal any zone that absorbs.
- Full plumbing inspection. Exercise the shutoff valves, inspect supply lines, and confirm no weeping at any fitting.
- Exhaust fan and duct check with the tissue test and a look at the duct termination.
- Paint and drywall review for bubbling, peeling, or soft spots at the ceiling and door.
- Fixture and hardware tightening at all set screws, hinges, and drawer slides.
This is also when you collect your documentation into one file: installation date, materials list, brand and spec sheets, and photos of each check. If your contractor offered a written guarantee, read what it covers at the 12-month mark. Bradford’s 365-Day Done Right Promise is a full-year written guarantee; if the work fails inside that window, we return and correct it at no charge. That guarantee is a written document, not a verbal promise, and the maintenance record you keep is what makes a claim clean.
How to Document Your Maintenance for a Valid Warranty Claim
A warranty claim lives or dies on documentation. The homeowner who calls and says “the caulk is lifting” gets a different response from the one who calls with a dated photo log showing the day the bead first pulled away. We are not adversarial about it – we correct failing work under the 365-Day Done Right Promise – but a record protects both sides.
How to keep the record:
- Make a simple maintenance log. A printed page taped inside a cabinet, or a note on your phone. Date, item checked, result, photo.
- Photograph every check. Wide shot of the bathroom and close-up of the item. Photos catch things the eye misses, especially at caulk joints.
- Keep the installation paperwork together. Written price, scope of work, materials list, brand warranty sheets, and the guarantee document in one folder.
- Call as soon as anything fails. The day you notice the issue is the date that goes in the log. Waiting six months to call weakens the claim and lets the damage grow.
- Do not fix warranty work yourself. If you re-caulk over a failing bead, you’ve removed the evidence the contractor needs and may have voided that item’s coverage.
A documented maintenance log wraps up a job squared away: clean site, written scope, signed guarantee in hand, and a fresh year of notes proving the work was cared for. It’s how a bathroom remodel is meant to close.
Common Mistakes to Avoid
- Skipping the 30-day check altogether. The window that catches the earliest movement is the one most homeowners forget. By the time a failing caulk bead shows up at month eight, the water has had months to work behind the tile.
- Re-caulking warranty work yourself. The moment you apply your own silicone over a failing joint, you’ve removed the evidence that would have made a valid claim – and possibly voided that item.
- Sealing grout too early. Applying sealer before the full cure window traps moisture and produces a haze that has to be stripped. Wait 72 hours to 7 days.
- Never exercising the shutoff valves. A valve that hasn’t moved in three years is the one most likely to fail when you need it, usually under pressure and at the worst time.
- Leaving the exhaust fan on the shelf. A clogged or disconnected duct leaves moisture on the walls, ceiling, and cabinet backs – the fastest path to a voided paint or drywall warranty.
- Treating the 365-day check as optional. The one-year mark is the last full look under most written guarantees. Miss it and you’re on your own for issues that were technically covered.
- Keeping no record. A claim with a dated photo log is a phone call; a claim that says “it’s been leaking for a while” is a negotiation.
See the difference
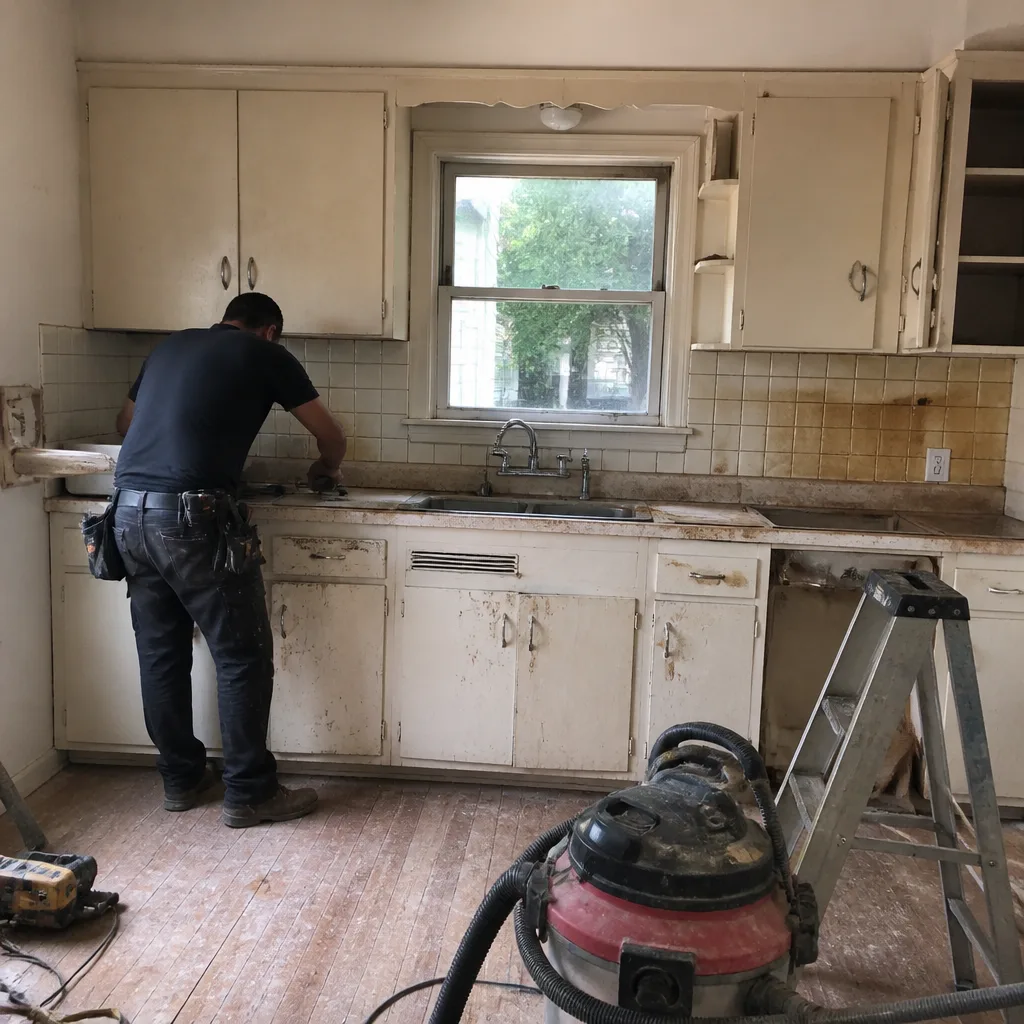 Before
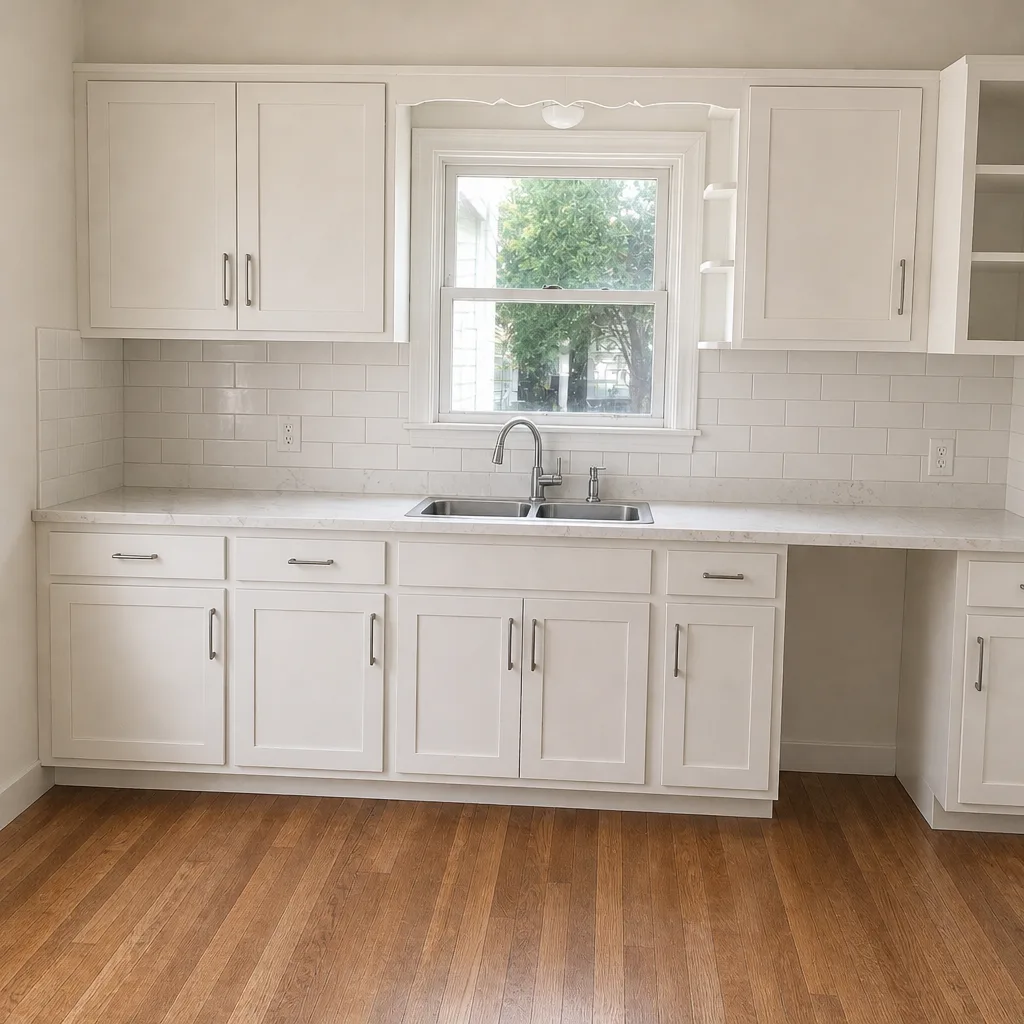 After
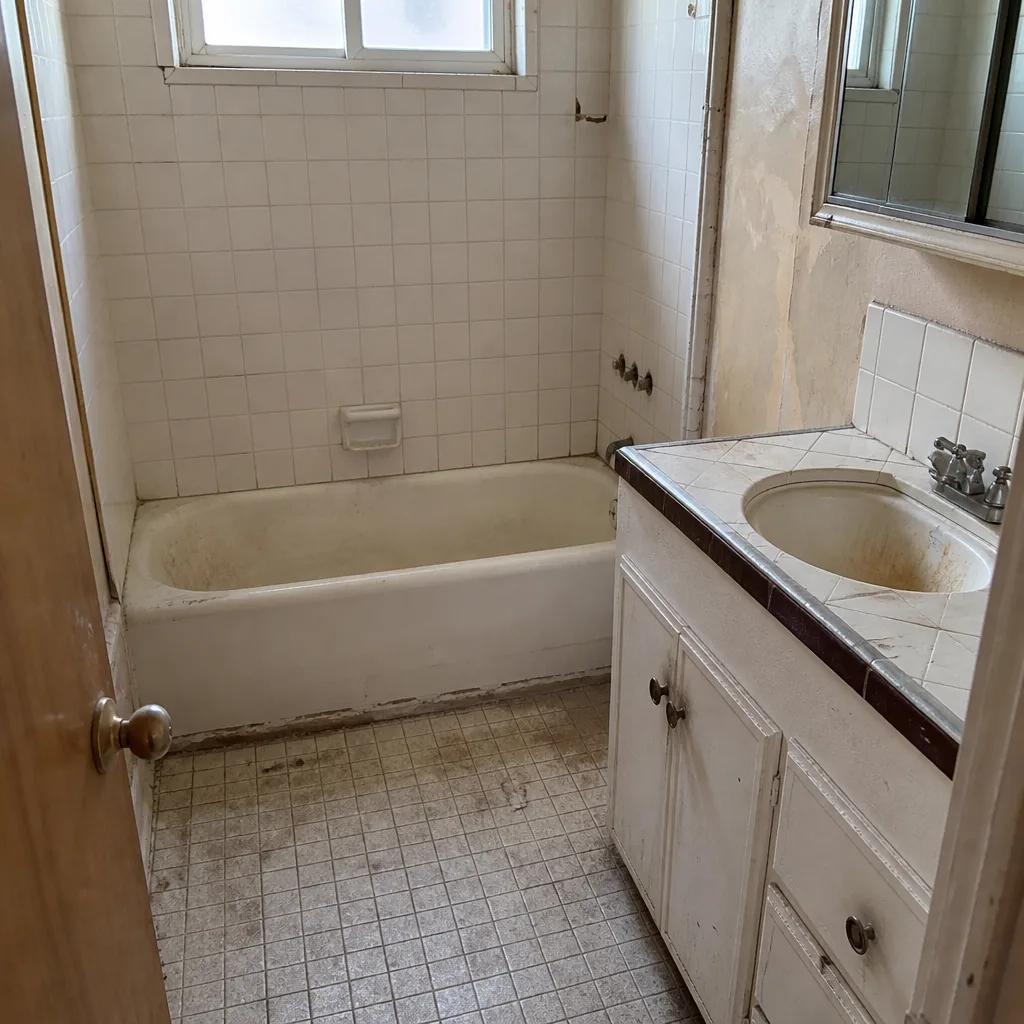 Before
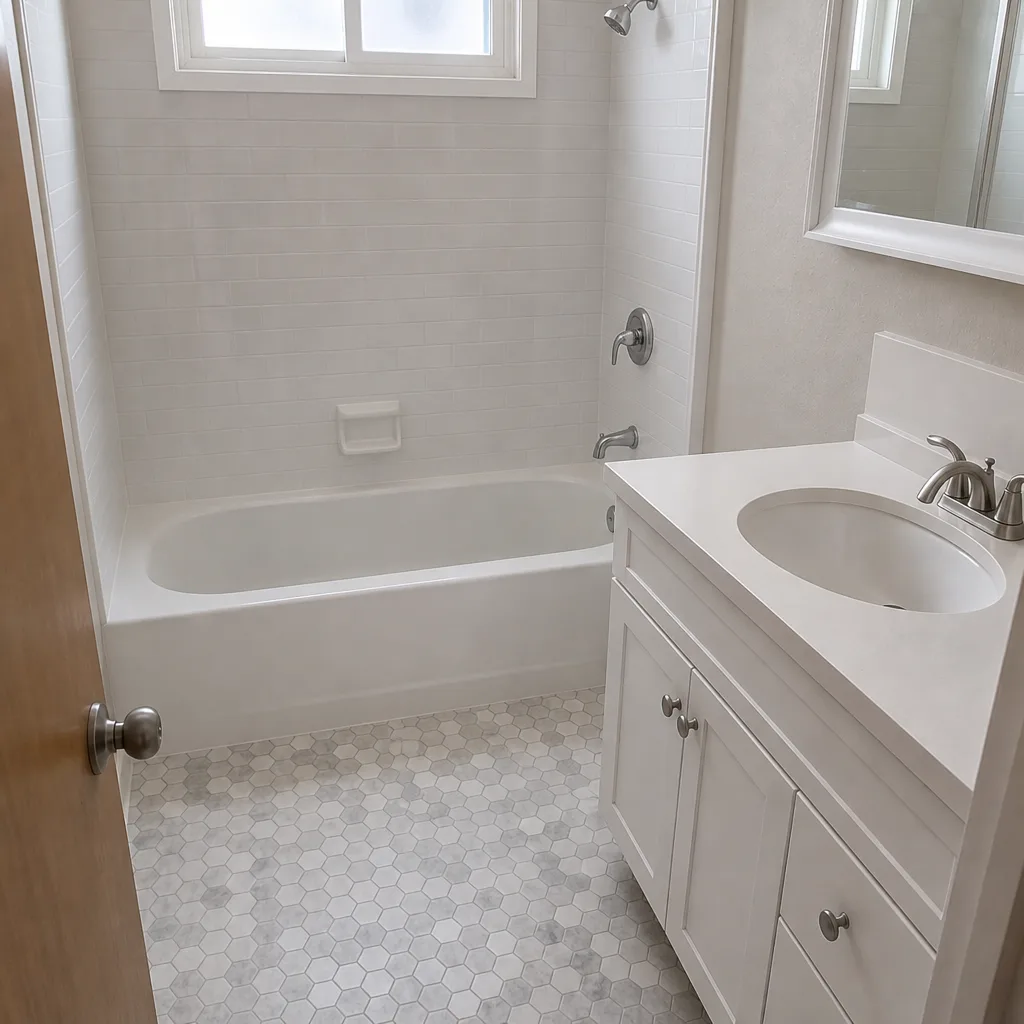 After
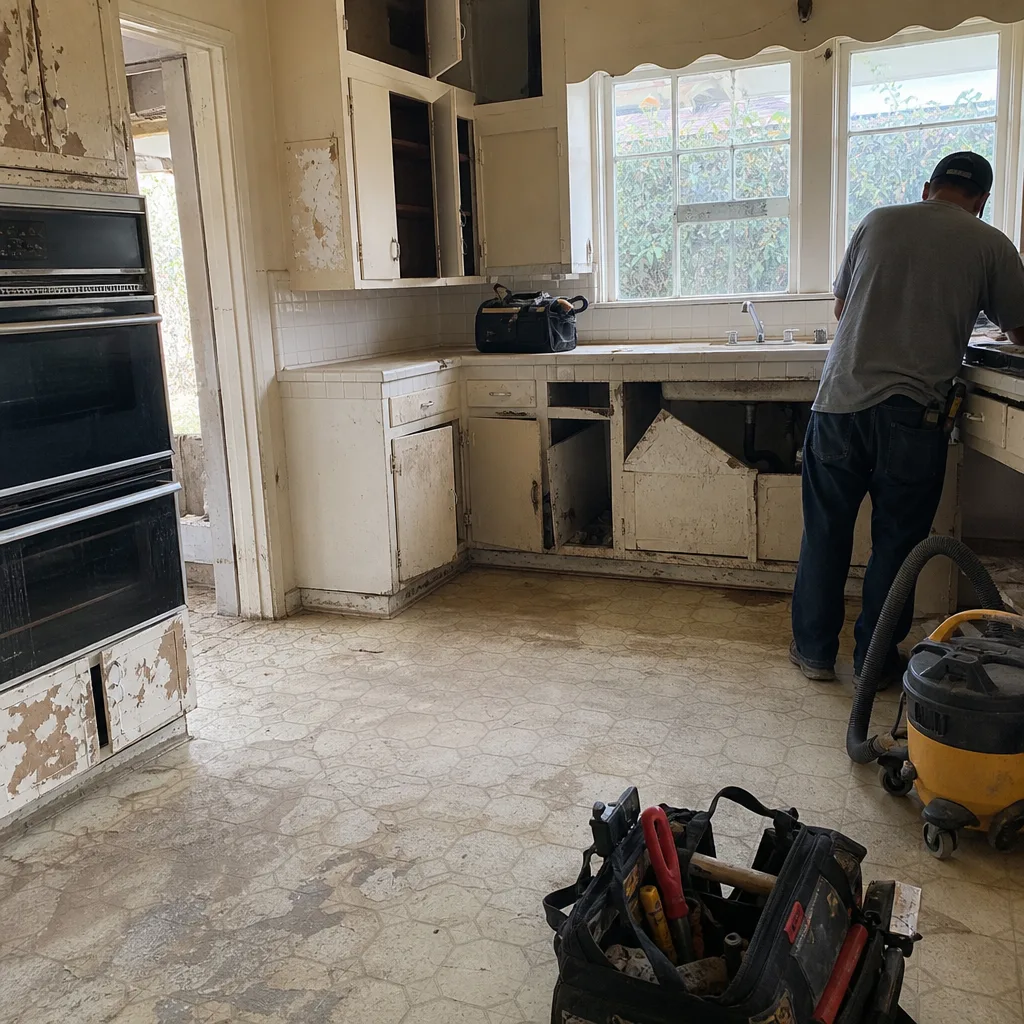 Before
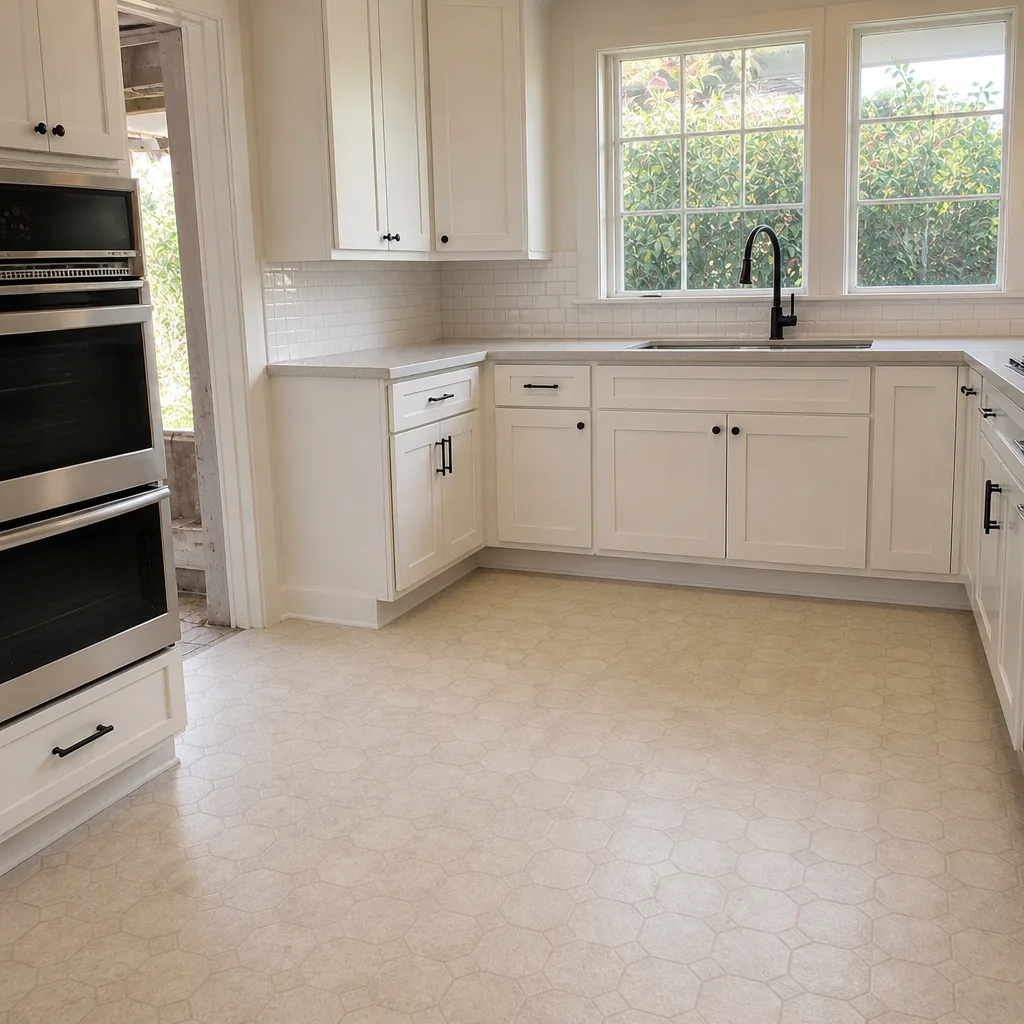 After
When to Call a Professional
Call a professional the moment caulk lifts at the tub-to-tile joint and won’t stay down, a toilet rocks at its base, a shutoff valve is stiff or weeping, or an exhaust fan fails the tissue test after a cleaning. Those are the failures a homeowner should not touch – a seized angle stop under pressure or a rock-solid toilet flange is a water-damage claim waiting to happen. If you’re seeing soft drywall, bubbling paint at the ceiling, or a hollow tile underfoot, stop and call. Bradford Remodeling Co Pasadena offers free estimates for bathroom corrections and finish work in Pasadena – call (888) 841-5410, and we’ll inspect the issue and put a written price in front of you before any work starts. Every completed project carries the 365-Day Done Right Promise: we return and correct the work at no charge if it fails within the guarantee period.
Frequently Asked Questions
Apply the first penetrating sealer coat 72 hours to 7 days after grout installation, then re-test with the water-drop method at 90 days and reseal annually after that. In a daily-use Pasadena shower, we usually recommend checking the shower floor and drain collar every 9 to 12 months because that’s where sealer breaks down fastest.
Weekly for the first month, monthly for the rest of the first year, then quarterly after that. The silicone seam is the primary water barrier for the wall framing, and a millimeter of lift at day 60 is a small fix; ignored for two years, it becomes a framing and drywall repair.
Yes – a fogged mirror after a 15-minute shower means the fan isn’t moving enough air. Check the grille for dust, confirm the duct is connected and terminating correctly, and run the tissue test. If the fan fails the test after cleaning, the duct may be pinched or undersized. Call (888) 841-5410 and we’ll take a look.
Document anything you notice – a lifted caulk bead, a rocking toilet, a stiff shutoff valve, a hollow-sounding tile – with a date and a photo, and call immediately. A dated log with a photo makes a claim clean and protects your coverage. Do not fix the item yourself; that removes the evidence.
Yes. Exercise each angle stop a quarter-turn and back every 30 to 90 days for the first year. The valves most likely to fail are the ones that haven’t moved in years. If a valve feels stiff or weeps when you turn it, stop and call a plumber – a seized valve under pressure is a water-damage event, not a DIY moment.
It should spell out what is covered, for how long, and how to claim – in writing, before work starts. Bradford’s 365-Day Done Right Promise is a full-year written guarantee: if the work fails inside that window, we return and correct it at no charge. Read the document at the 30-, 90-, and 365-day checks so no covered issue slips past the window. Call (888) 841-5410 for a free estimate or a guarantee review.
The Bottom Line
A bathroom remodel is only as durable as the first year of care. The 30-day check catches early movement; the 90-day check confirms grout, valves, and airflow; the 365-day check aligns with your written guarantee and locks in the record that makes a claim clean. Seal grout after 72 hours to 7 days, exercise the shutoff valves, keep the exhaust fan pulling, and photograph every check. Do that and the bathroom you just built in Pasadena holds for a decade instead of five. If you want the schedule on paper and a written price before any correction work starts, call (888) 841-5410 for a free estimate.
Whether you’re planning a full bath rebuild, a kitchen update, or a whole-home remodel, our teams install a documented roster of premium brands – KraftMaid and Wellborn cabinetry, Cambria and Caesarstone surfaces, Kohler and Moen fixtures, Therma-Tru doors, and more – so every spec is traceable and backed by manufacturer warranties behind our own. Start with our Bradford Remodeling Co Pasadena home page, or go straight to the service you need: general contractor in Pasadena for structural and whole-home work, kitchen remodeling in Pasadena for the room that shares the most plumbing and moisture risk with your bathroom, or bathroom remodeling in Pasadena for a full rebuild. Every estimate is free, every price is written before work starts, and a live person answers the phone 24/7 at (888) 841-5410.
Written by the team at Bradford Remodeling Co Pasadena.