Last updated November 18, 2026






Free written scope consultation - allowances, timeline, and change-order rules on paper before a single trade is scheduled
Home Remodeling Troubleshooting: Common Problems and How to Fix Them
A door that won’t latch after a home addition isn’t a door problem. Most of the time it’s a framing or foundation settling issue that shows up at the finish hardware because that’s where tolerance finally runs out. You can call a locksmith and watch him adjust the strike plate, but the door will drift again in a season. The real question is what moved under the frame before the door ever got hung. That shifts the whole way you troubleshoot a remodel. In Pasadena, we’ve watched enough of these reveal themselves 6 to 18 months after the punch list was signed. This guide is for spotting what went wrong, tracing it to the true cause, and knowing whose written obligation it is to fix it.
Quick Answer
Most post-remodel problems trace back to one of three causes: workmanship that didn’t follow spec, a material that failed under normal use, or a pre-existing condition the contractor should have flagged and didn’t. Triage by looking at timing, location, and pattern. A crack that appears in one spot and spreads in a line is different from a crack that shows up everywhere drywall tape meets. Get the cause right before you call anyone, and document it in writing the same day.
Styles & brands we work with
- Kitchen remodeling
- Bathroom remodeling
- Home additions & ADU
- Roofing
- Windows & doors
- Driveway & pavers
- Fence
Table of Contents
- How to Diagnose Whether It’s Workmanship, Material, or Pre-Existing
- HVAC Balance Problems After a Remodel
- Electrical Circuit Overloads That Show Up Months Later
- Plumbing Pressure Drop and What It’s Telling You
- Reading Drywall Crack Patterns
- Using Your Contract, Change Orders, and Inspection Records
- California’s 10-Year Latent Defect Statute Explained
- What to Do When the Contractor Disputes Responsibility
How to Diagnose Whether It’s Workmanship, Material, or Pre-Existing
Before you call anyone, classify the problem. The category determines the remedy, the evidence you’ll need, and the paperwork that backs your claim.
Workmanship failures follow a spec breach. The tile bed wasn’t thick enough, the waterproofing membrane was skipped at a shower curb, the framing didn’t get the blocking the plan called for. These usually show up under normal use within a year and cluster in one trade’s scope. If the shower valve leaks but the tub on the other side of the wall is dry, that’s not a plumbing system issue, that’s the way the plumbing was installed.
Material failures show manufacturing patterns. A cabinet door delaminates on one hinge because the hinge plate was driven too deep, but if the same finish peels on five doors in a kitchen, that’s a batch issue. KraftMaid and Wellborn cabinetry carry their own manufacturer warranties, and they map to a documented spec brand, which is one reason we install those names on purpose. A traceable brand means a traceable warranty.
Pre-existing conditions are the ones the contractor owed you a disclosure on. Old knob-and-tube wiring hidden behind a wall, a slow drain in the original stack, a bathroom fan vented into the attic instead of outside. If a remodel revealed it and the contractor covered it back up without a change order, the obligation falls on them. In older Pasadena homes near Bungalow Heaven and the Craftsman streets off Lake Avenue, this is the most common defect of all: original structure that got buried under a new finish.
HVAC Balance Problems After a Remodel
The most common complaint we hear about HVAC after a whole-home remodel isn’t that the system won’t heat. It’s that one room runs 6 to 8 degrees warmer than the rest of the house. That’s an air balance problem, and it almost always starts with a wall that moved, a hallway that narrowed, or a return that got blanked off when a closet went in.
Check these in order:
- Count the supply registers against the plan. Compare the finished room to the manual J load calculation your contractor should have produced. If a register got deleted during framing, the room loses its design air.
- Check that the return is pulling. Hold a tissue against the return grille. If it doesn’t move, the return is blocked in the attic or was deleted entirely.
- Look for the door undercut. A bedroom with a solid door and no jump duct can’t push its designed CFM. A 1-inch undercut on a 32-inch door usually solves this in a room served by a single register.
- Measure the supply temperature at the register. Within 15-20 minutes of start-up, the supply should read 15 to 20 degrees cooler or warmer than the return, depending on the season. If it doesn’t, the issue is the equipment or duct, not the room.
Pasadena homes with full western sun on a rear addition often need a manual J recheck rather than a bigger compressor. Resizing the system to chase a load that shouldn’t be there is how homeowners spend $8,000 and still have a hot bedroom in September.
Electrical Circuit Overloads That Show Up Months Later
Circuit overloads are the hardest remodeling problem to diagnose because they fail silently, and by the time the breaker trips, homeowners assume the problem is the breaker. It isn’t. It’s load.
A remodeled kitchen that moved from a 40-year-old range to a modern induction cooktop and added a wall oven typically doubles the amperage draw on the same 240V circuit. If the electrical panel wasn’t upgraded in scope, the new appliances will trip the same breaker within a month of heavy use. The contractor’s job was to catch that on load calculation before submitting the plans.
Signs to watch for:
- Breakers that trip during a specific appliance use, not randomly
- Flickering lights when the microwave or hairdryer runs
- Warm switch plates behind a wall of switches
- GFCI receptacles that trip themselves without moisture present
- A panel that shows no new 20-amp circuits added during a kitchen or bath remodel
Never open an electrical panel to “look inside” on your own. The service feeders behind the dead front are live and carry enough current to be lethal, and the work requires a licensed electrician regardless. Your job is to photograph the symptoms and get a written note from the electrician about the panel’s actual capacity. That note becomes the evidence in a liability claim.
Plumbing Pressure Drop and What It’s Telling You
You turn on the shower in the newly remodeled bathroom and the kitchen sink loses pressure. The remodel didn’t break the plumbing. The plumber’s rough-in ran the new fixture through a 1/2-inch line that now serves three fixtures on a leg that was sized for two, or the original galvanized supply was left in place to feed a new branch.
Pressure problems almost always show up as timing issues. Check whether pressure drops when a specific fixture runs. That tells you where to point the plumber. A whole-house drop points to the supply line coming in or a failing pressure-reducing valve. A fixture-specific drop points to the rough-in.
If your remodeled bathroom uses a Moen or Delta thermostatic valve and the temperature swings hot and cold spontaneously, the cartridge is the first suspect, not the rough-in. Cartridges fail from sediment and pressure fluctuation, and both brands supply replacements. If the swing continues after a cartridge swap and the rough-in ran through an uninsulated exterior wall, the cause is temperature mixing, not the valve.
For older Pasadena homes, especially those built in the 1920s and 1930s east of Hill Avenue, the property may still have a partial galvanized system feeding the new work. A remodel that ties new copper into 90-year-old steel has a clock on it, and the plumber should have written that up before install. If they didn’t, ask why in writing.
Reading Drywall Crack Patterns
Not all drywall cracks mean the same thing. The pattern tells you what moved.
- Diagonal cracks from the corner of a door or window frame: These are stress cracks from framing movement. In a new addition, they usually appear 6 to 12 months after the drywall went up as the structure settles. A single hairline crack in one location is normal and can be filled. Cracks that reappear within 60 days of the repair are not.
- Horizontal cracks along a ceiling-wall joint: These usually point to a truss uplift or a fitting that has separated. In Pasadena, where winter humidity spikes and the Santa Ana winds pull dry air through attic vents, ceiling joints move more than in more temperate climates.
- Vertical cracks over a doorway at both sides: This is the tape line failing. The tape was tapped over a joint that had movement built in, and the finisher skipped the setting compound that would have absorbed it.
- Cracks that follow the shape of a taped joint everywhere at once: Usually a compaction issue in the wall, or a humidity swing in a home that just had its first full heating season after the closure was tightened. Not a defect, a normal adjustment.
- Spiderwebbed cracks across a broad panel: This is the one to call on. It can indicate substrate failure, water intrusion, or a framing problem. Get the general contractor out with a moisture meter.
Photograph every crack with a coin or a tape measure in frame for scale. Date the photo. Then compare it to the same shot 30 days later. That progression is what your contractor needs to accept a warranty claim, and what a construction defect claim actually turns on.
Using Your Contract, Change Orders, and Inspection Records
When a problem shows up after a remodel, the contract answers most of the question of who’s on the hook. Bradford’s whole-home remodeling work in Pasadena is backed by the written price before any work starts, but not every contractor operates that way. If yours didn’t, the records you have become more important, not less.
Find these four documents and read them together:
- The original contract scope of work. Look for a sentence that specifies system performance. “Install 3/4-inch supply to the bath” is a specification. “Replumb bathroom” is not. Specifications define liability. Generalities don’t.
- The change orders. Every signed change is a new installation date and a new scope. If the change order says “upgrade panel to 200A,” and the panel is still 100A, that’s not a workmanship debate, that’s a breach of the written agreement.
- The inspection records. Pull the permit history from the city. In Pasadena, that’s the Planning & Permitting counter on North Garfield. If the final electrical inspection didn’t happen, or the permit closed without a final inspection, the work was never verified by the authority that governs it. That strengthens your position enormously.
- The warranty document. Every completed Bradford job carries the 365-Day Done Right Promise, a written guarantee covering the full year, with a free return visit if the work fails inside the guarantee period. If your contractor gave you a 30-day punch period and nothing else, that limitation is what you’re working against.
Under California Business and Professions Code, a remodel contract over $500 must be in writing, and the contractor must give you a copy of the CSLB’s Notice to Owner before work begins. If they didn’t, that’s a violation on its own and one worth recording.
California’s 10-Year Latent Defect Statute Explained
California Code of Civil Procedure Section 337.15 sets a 10-year statute of repose for latent construction defects. “Latent” means a defect you couldn’t reasonably have discovered when the work was completed. The clock starts running against the contractor on the date of substantial completion, and once those 10 years pass, the right to sue on a latent defect is gone.
Here’s what actually triggers a claim:
- Discovery within the window. You must have found the defect, and ideally documented when you found it. A photo is stronger than a memory.
- The defect is truly latent. A crack you could see on day one is a patent defect, and it runs under a much shorter window. Hidden waterproofing failure behind tile is latent. A door that doesn’t latch on day one is not.
- A nexus between the contractor’s work and the failure. Your report from a licensed general contractor stating the work performed does not meet code or industry standard is the document that carries a claim.
- Written notice to the contractor. California requires that you give written notice and a reasonable time to repair before a claim can move forward under the construction defect process. That notice should be specific about the defect and the remedy requested.
For homes remodeled in Pasadena within the last decade, especially whole-home remodels performed under pre-2013 code cycles in older neighborhoods, this is where the timeline matters. A full home remodel today gets inspected under a very different building code than the same home remodeled in 2016. That doesn’t retroactively create liability, but it does inform how you read what was correct at the time of install.
What to Do When the Contractor Disputes Responsibility
Most contractors are reasonable when you present a clean record. Some aren’t. Follow this sequence; each step creates evidence for the next.
- Write a demand letter. Keep it to one page. State the defect, the date discovered, the contract provision or code section that applies, the remedy requested, and a deadline of 30 days. Send it by certified mail with return receipt, and by email if the contract lists an address. Keep a copy.
- Document everything. Photograph the defect today, and again in 30 days. Retain every email, text, invoice, warranty document, and change order. If a repair was attempted and failed, log the date and the result.
- Get an independent report. A licensed general contractor in Pasadena who has no relationship to your contractor can write a scope-of-repair report stating what was done and what should have been. That report costs a few hundred dollars and moves negotiations more than anything you can say to the contractor yourself.
- File a CSLB complaint. The Contractors State License Board handles complaints against licensed contractors. A CSLB complaint doesn’t get your repair done, but it can create pressure, and it starts a formal paper record. In cases involving work without a permit or work above $500 without a written contract, CSLB has an unusually strong basis to act.
- Consult a construction defect attorney when the value crosses roughly $15,000 and the contractor won’t engage. Below that number, the legal cost usually outstrips recovery. Above it, a construction defect attorney who works on contingency can advise whether to file or arbitrate. Arbitration clauses in contractor agreements are common; check yours before assuming you’ll end up in court.
Call us at (888) 841-5410 if you’re in Pasadena and want a second opinion on what a contractor’s written warranty actually covers. We’ll tell you straight, whether or not the original job was ours.
Common Mistakes to Avoid
- Calling the finish trade before diagnosing the cause. A locksmith fixes the strike plate. A framer fixes the sag. If you skip the diagnosis, you pay twice.
- Skipping the certificate of occupancy check. In Pasadena, if your addition never received a final inspection sign-off, no warranty is worth much. The permit history at the North Garfield counter tells you.
- Relying on a verbal change order. A change order is only enforceable if it’s in writing with both signatures and a date. Verbal scope changes are essentially unenforceable and give the contractor an easy out.
- Using the 365-Day Done Right Promise as a reason to delay calling. We honor it, but the sooner we see a defect, the more we can trace it. A crack photographed on day three tells us far more than the same crack at month eleven.
- Letting a repaired defect hide the original. If a shower leaks and the plumber patches the valve, ask him to photograph what he sees inside the wall before he closes it. Once drywall goes back up, you’ve lost the evidence.
- Accepting “that’s normal settling” as the whole answer. Settling is real, but it has a pattern. Cracks in one spot that stop after six months are settling. Cracks that keep appearing in new places for two years are not.
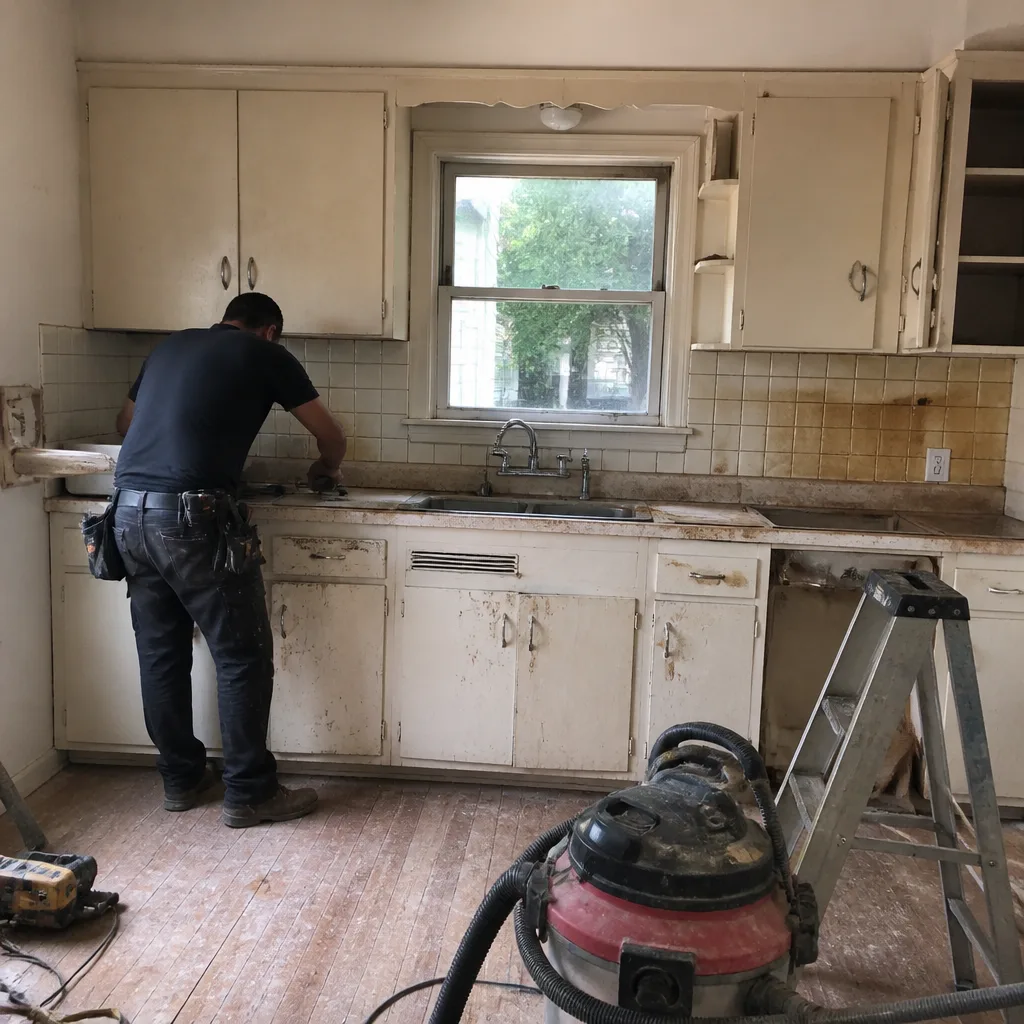
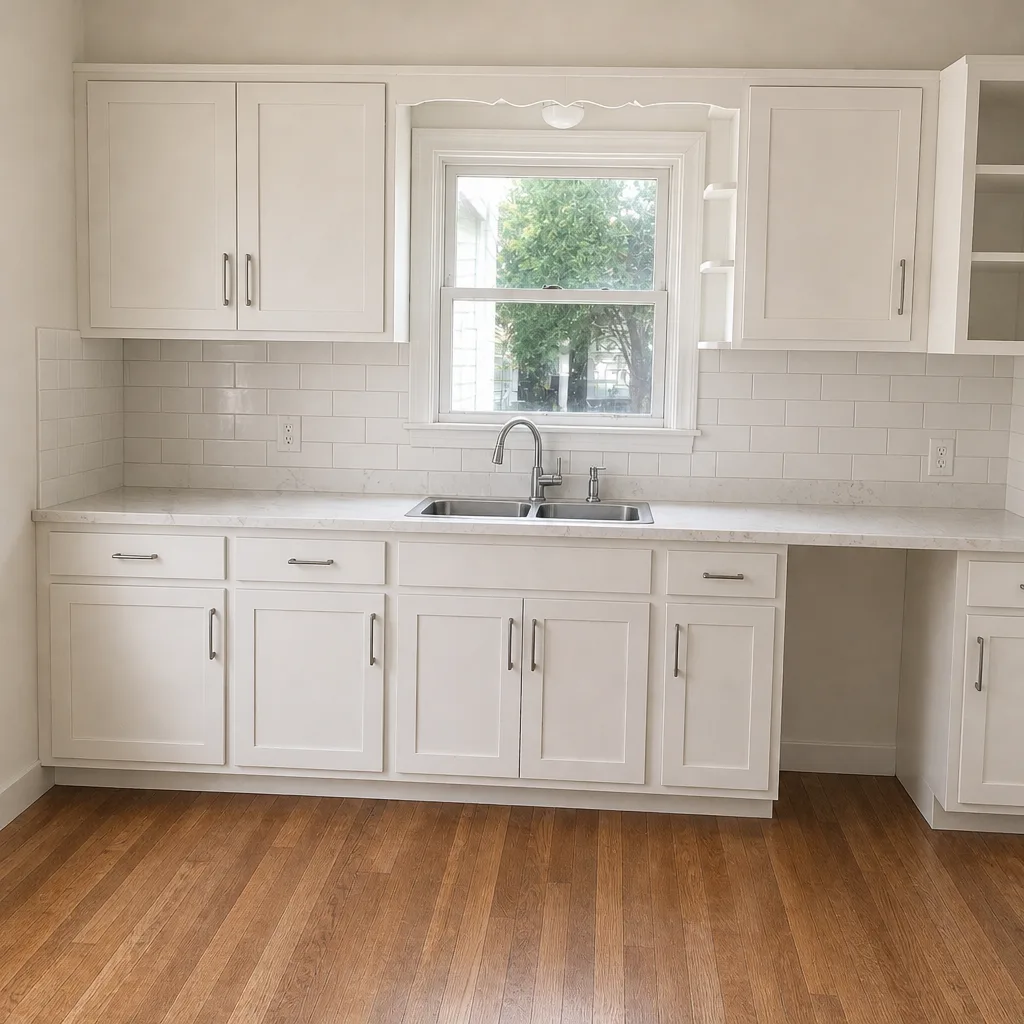
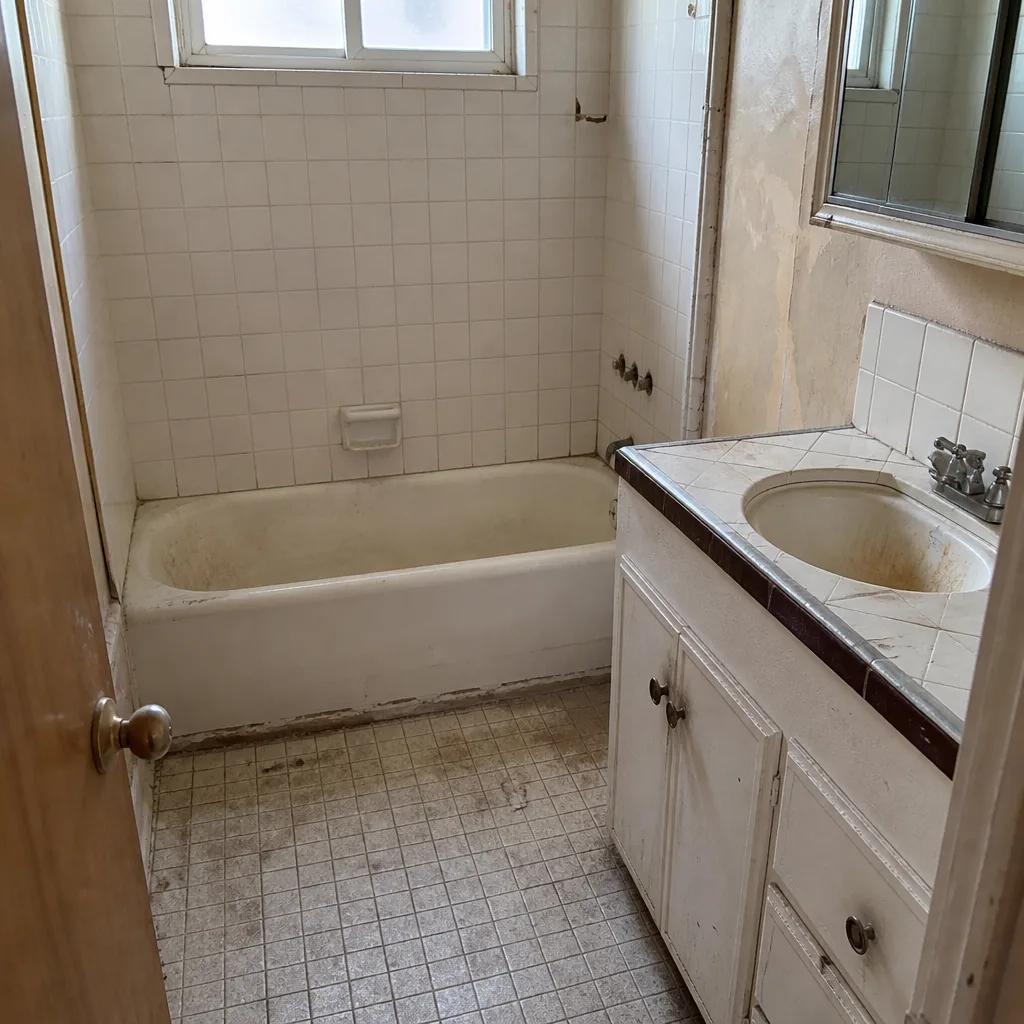
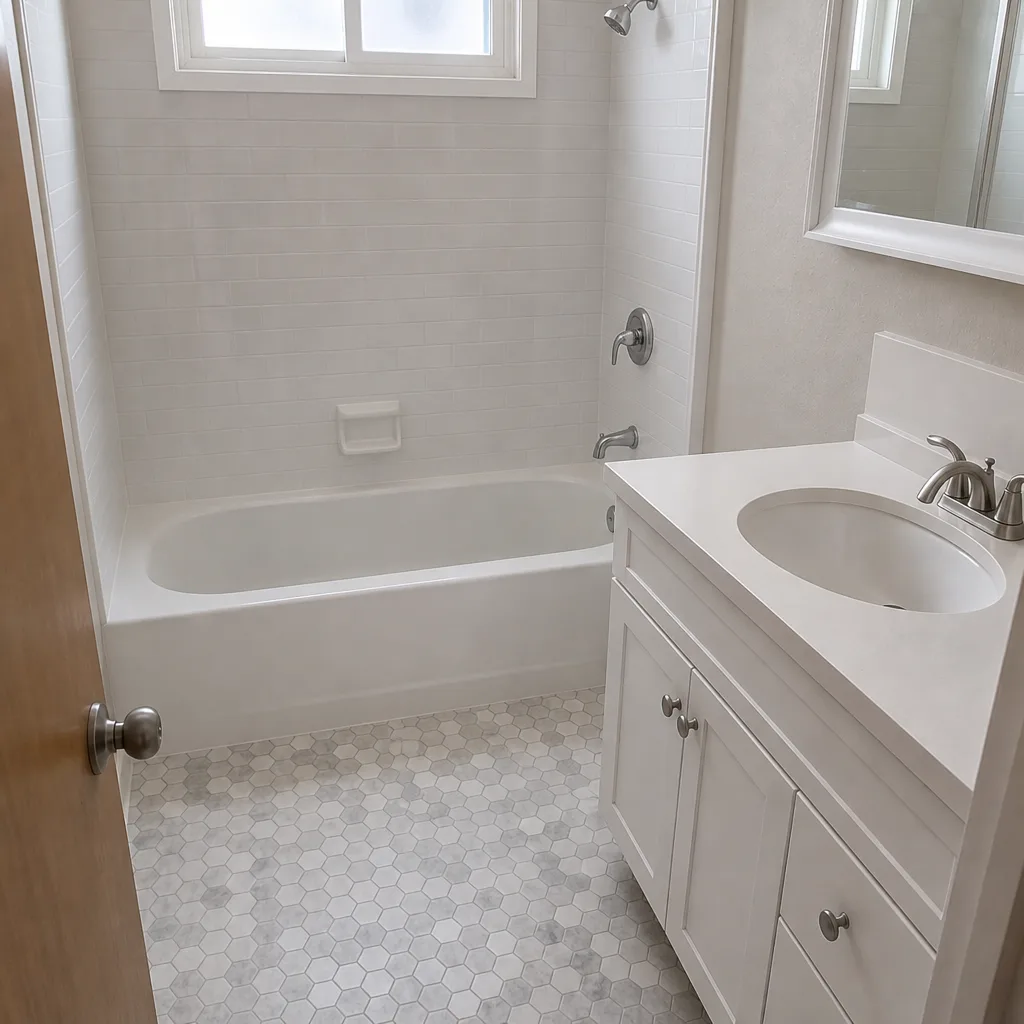
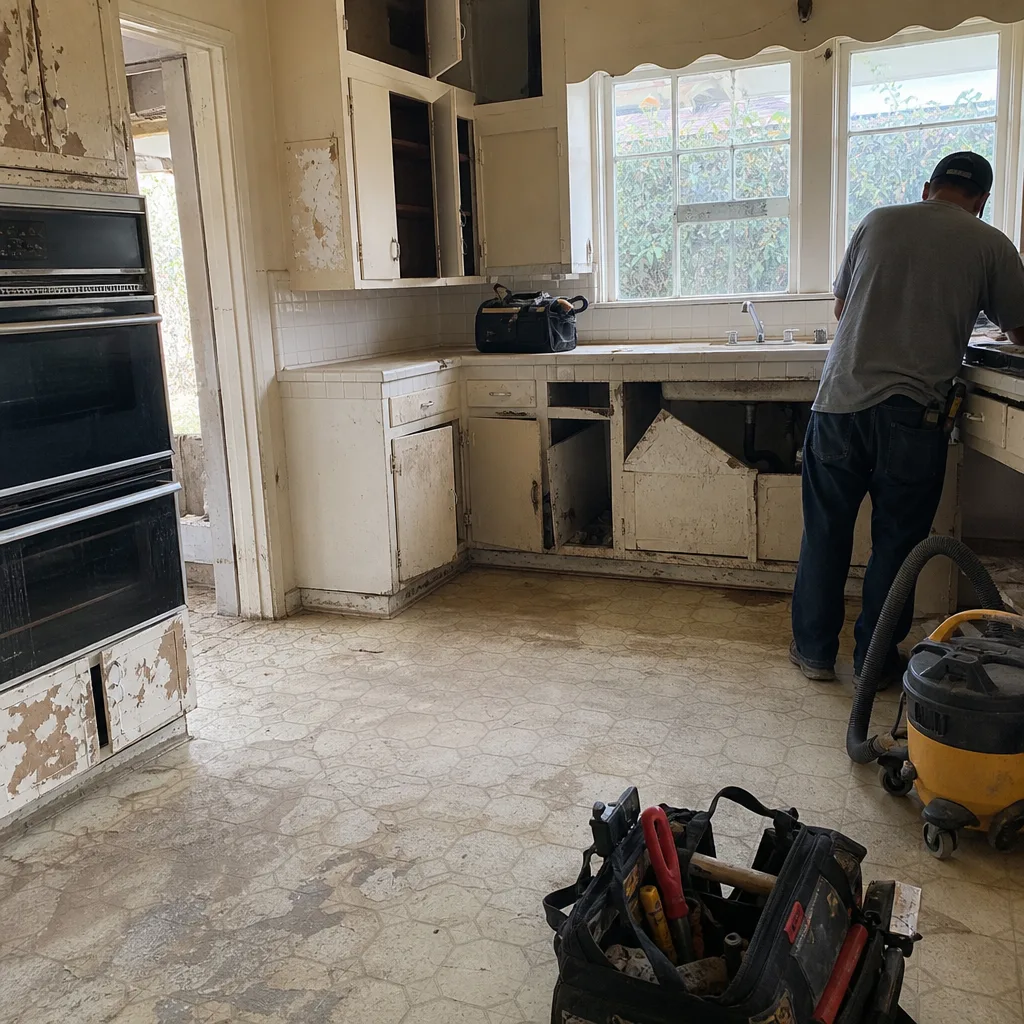
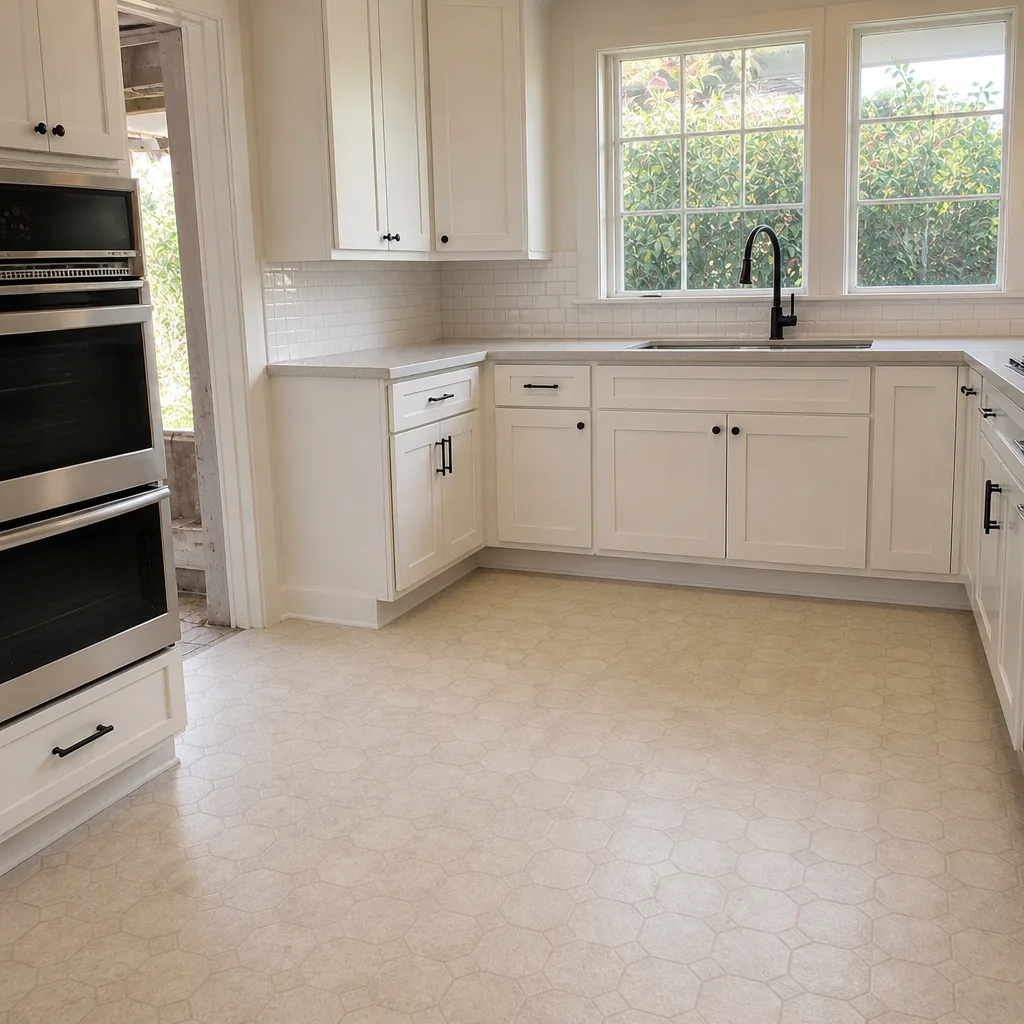
See the difference
 Before
 After
 Before
 After
 Before
 After
When to Call a Professional
If you’ve got a problem that’s been growing for more than a few weeks, or a pattern you don’t recognize, that’s a call. Specifically: drywall cracks that reappear after filling, a bathroom fan that doesn’t pull moisture out (test it with a tissue at the grille, it should hold), a breaker that keeps tripping on the same appliance, water stains at the base of any wall after rain, or a door that won’t latch within a year of an addition. Each one points at something behind the finish that needs a professional’s eyes, and none of them get better by waiting. Bradford Remodeling Co Pasadena offers free estimates in Pasadena – call (888) 841-5410. A live person answers 24/7, and you’ll get a written price before any work begins. Every technician who steps into your home is background-checked and uniformed.
Frequently Asked Questions
A single hairline crack within 18 months of a remodel is usually normal settling, especially in Pasadena where humidity swings between seasons. A crack that reappears after repair, spreads, or follows a diagonal path from a door or window corner, means you should call a contractor out with a moisture meter before you refill it. Photograph it with a tape measure in frame and take the same shot 30 days later. Progression is the answer.
It depends on whether the defect is latent (hidden) or patent (visible at completion). Under California’s 10-year statute of repose (CCP 337.15), latent construction defects can claim up to a decade after substantial completion, but you need a documented discovery date and a licensed contractor’s report stating the work doesn’t meet code or standard. Get a scope-of-repair report from an independent general contractor before calling a lawyer.
An air balance problem almost always. Count the supply registers against the load calculation the contractor should have produced, check whether the return is pulling (hold a tissue against it), and look at door undercut. If those check out, measure supply temperature at the register; it should run 15-20 degrees cooler than return within 15 minutes. If it reads correct, the problem is the room’s envelope, not the equipment.
Yes. We do second-opinion calls in Pasadena for exactly this reason. We’ll inspect the defect, identify whether it’s workmanship, material, or pre-existing, and give you a written price for the repair before any work starts. We’ll also tell you straight if the original contractor owes you the fix, so you can pursue the warranty claim before spending money with us.
File with the Contractors State License Board (CSLB) at cslb.ca.gov. First send the contractor a written demand by certified mail with return receipt, specifying the defect, the contract section or code, and a 30-day remedy deadline. Include the CSLB complaint number only after you’ve filed. Wait 4-6 weeks for CSLB to open a case before considering a construction defect attorney, especially if the repair value is under $15,000.
Diagnostic inspection runs $150 to $400. A bathroom waterproofing tear-out and redo runs $4,000 to $9,000. A framing correction for a settling door runs $800 to $2,500 in most cases. An HVAC rebalance (duct, damper, and register adjustment) runs $600 to $2,000. An electrical panel upgrade to 200A runs $2,200 to $4,800. If your contractor disputes responsibility, a scope-of-repair report from an independent general contractor runs $300 to $800. Call (888) 841-5410 for a written price on your specific defect, free of charge.
The Bottom Line
Most remodeling problems surface late because that’s when tolerance runs out. A door that won’t latch is a framing issue wearing a finish disguise. A crack that reappears is a movement issue, not a drywall issue. When a defect shows up, diagnose the cause before you call anyone, photograph it with scale and date, and line up your contract, change orders, and inspection records. If the contractor won’t engage, send a written demand by certified mail, file with CSLB, and consider a construction defect attorney only when the value justifies it. Our technicians have up to 22 years of experience diagnosing exactly these problems, and we back every completed job with the 365-Day Done Right Promise: a written guarantee covering the full year, with a free return visit at no charge if the work doesn’t hold. Call (888) 841-5410 to schedule your free estimate in Pasadena. A live person answers, day or night.
Written by the team at Bradford Remodeling Co Pasadena.